Specifications for Exterior Woodworking Joint #9
 #9
#9
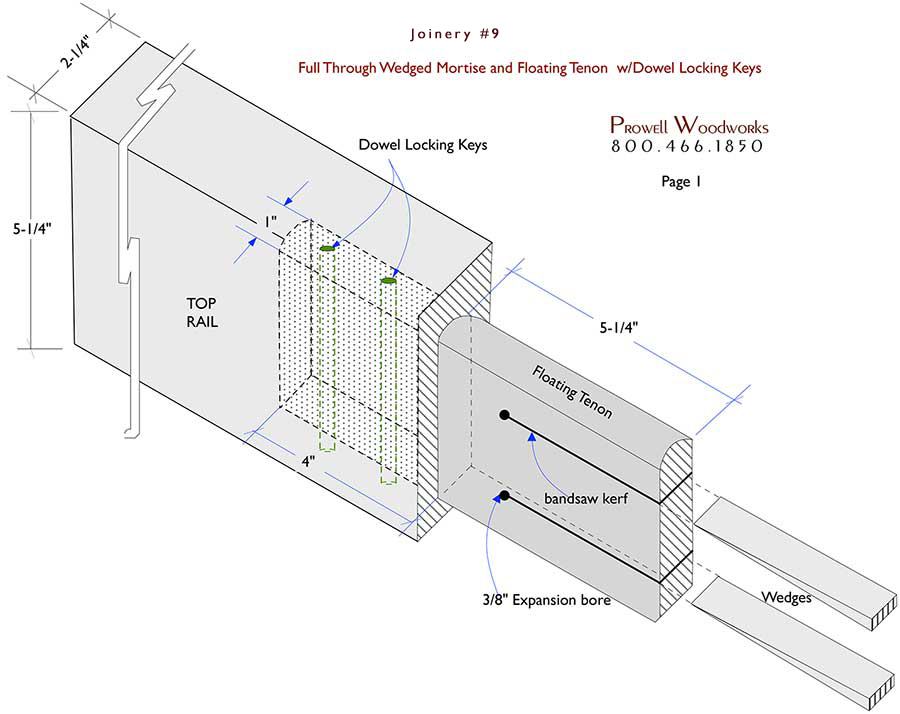
FULL THROUGH WEDGED FLOATING TENON W/DOWEL LOCKING KEYS
A long-winded title for a joint developed as a more efficient solution to the key haunches of Joint #9-1
Click Here for a PDF sketch
JOINERY #9
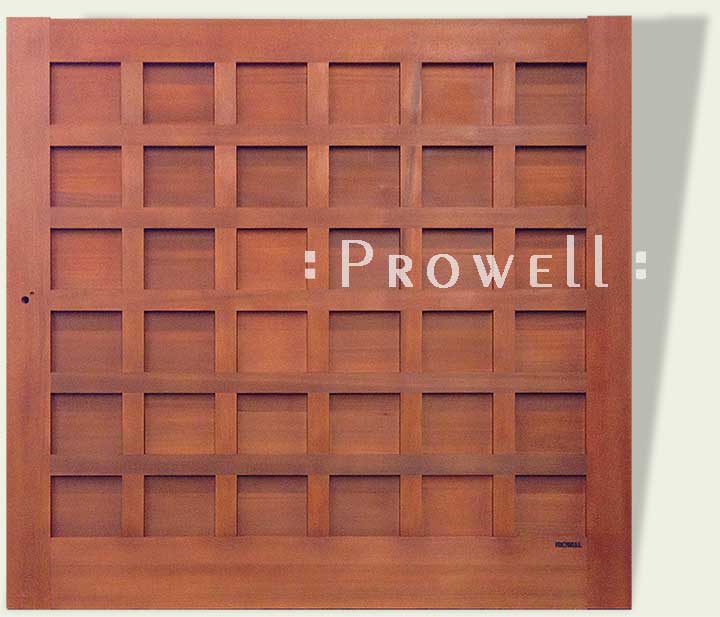
Gate Style #87
JOINERY #9
JOINERY #9
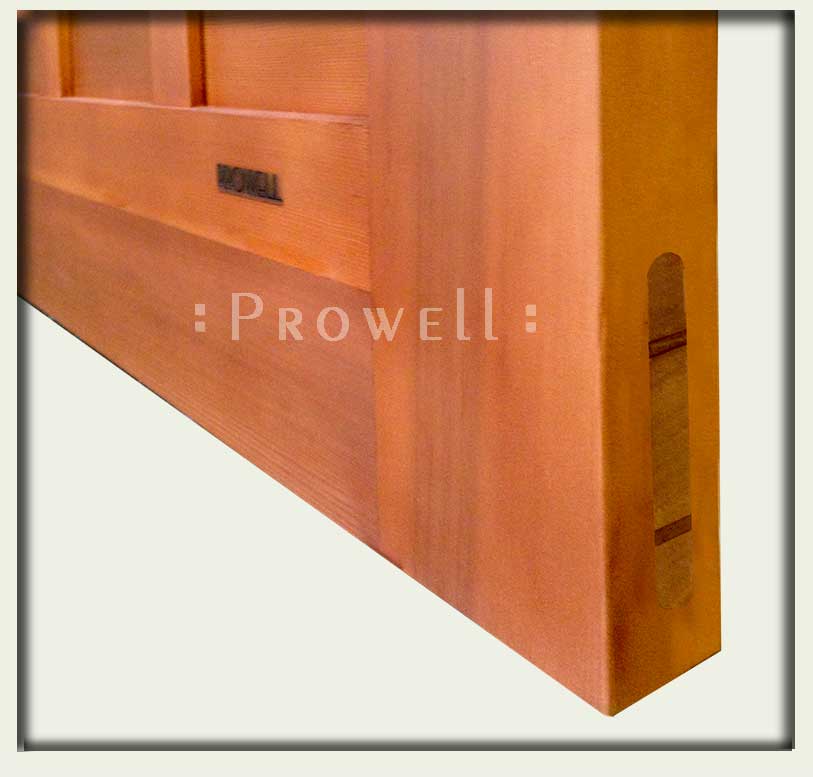
Gate style #115-2
JOINERY #9
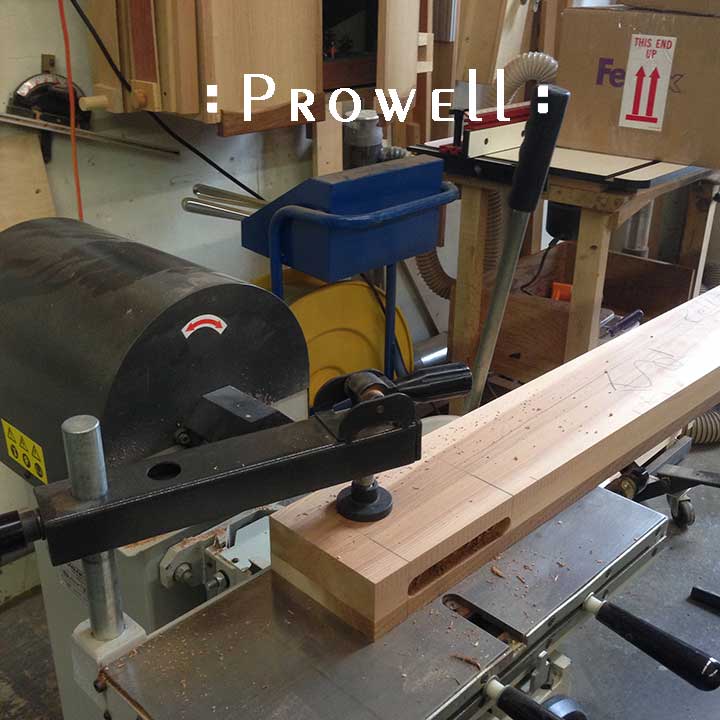
The mortise is created on a Laguna horizontal mortiser. 1″ thick. Because each pass has a maximum depth of only 4″, and our stiles are 5-1/4″, lines are transcribed to enable to stock to be flipped end-for-end to complete the mortise from the opposite edge.
Although this same procedure can be accomplished with a simple mortise box and plunge router, the alignment is somewhat more challenging.
JOINERY #9
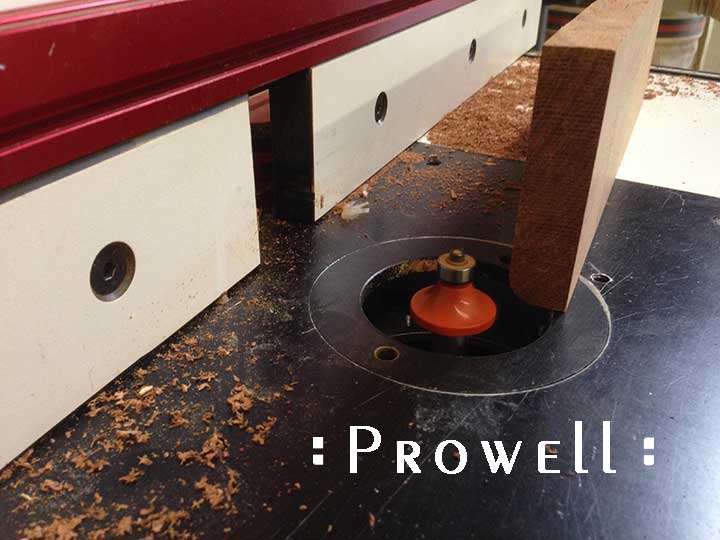
The 1″-thick tenon is eased with a round over bit to the same radius as the corresponding mortise.
JOINERY #9
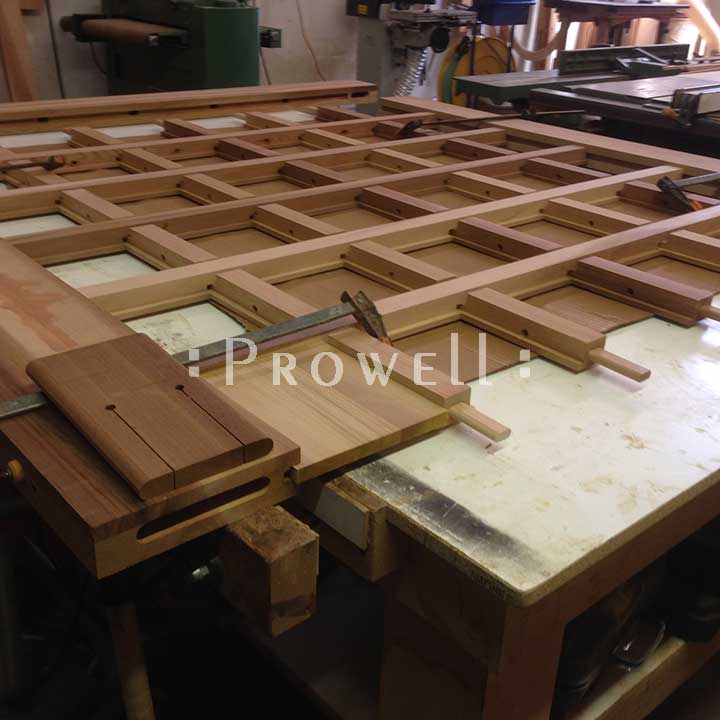
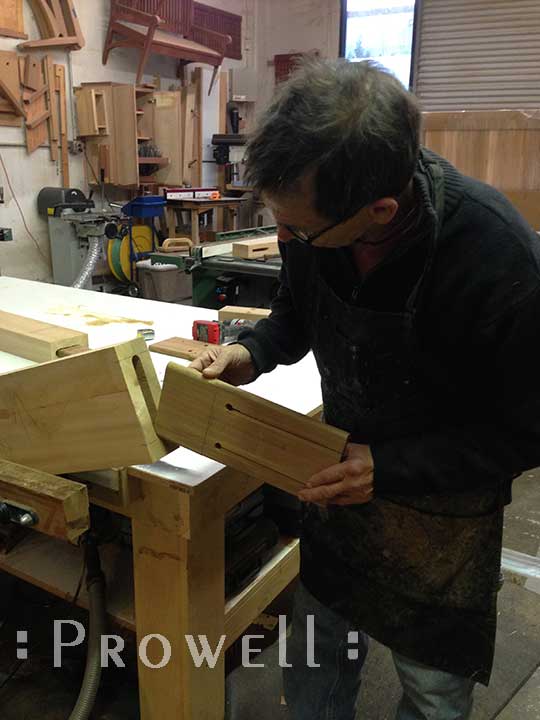
As with our other through tenons, we create a snug fit to the mortise. Adding kerfs and expansion bores for the eventual wedges.
JOINERY #9
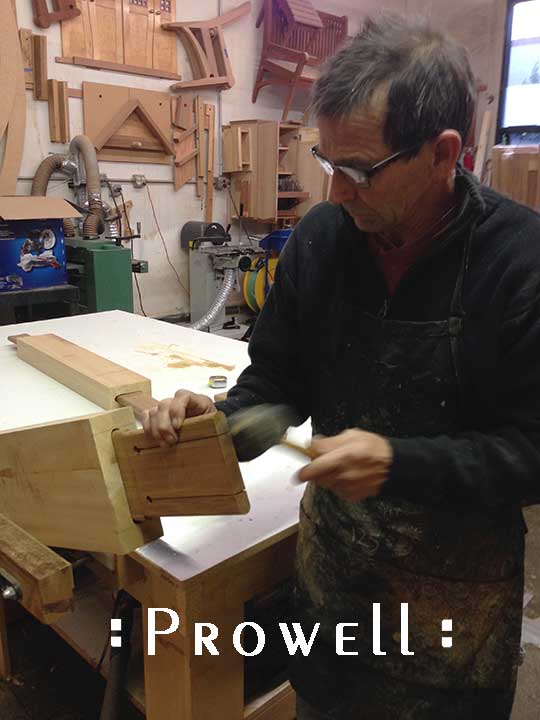
If you can slip a tenon into it’s mortise without resistance, then the joint is too loose. Re-cut the tenon until it’s snug enough that it requires a light tapping with your mallet.
JOINERY #9
JOINERY #9
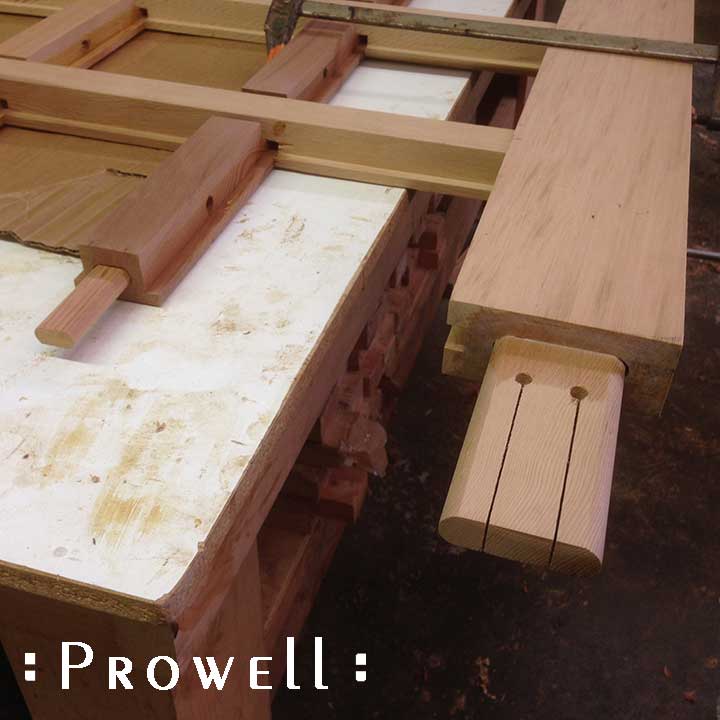
Showing the tenon set to the mortise, extending the width of the eventual stiles, plus a little extra.
JOINERY #9
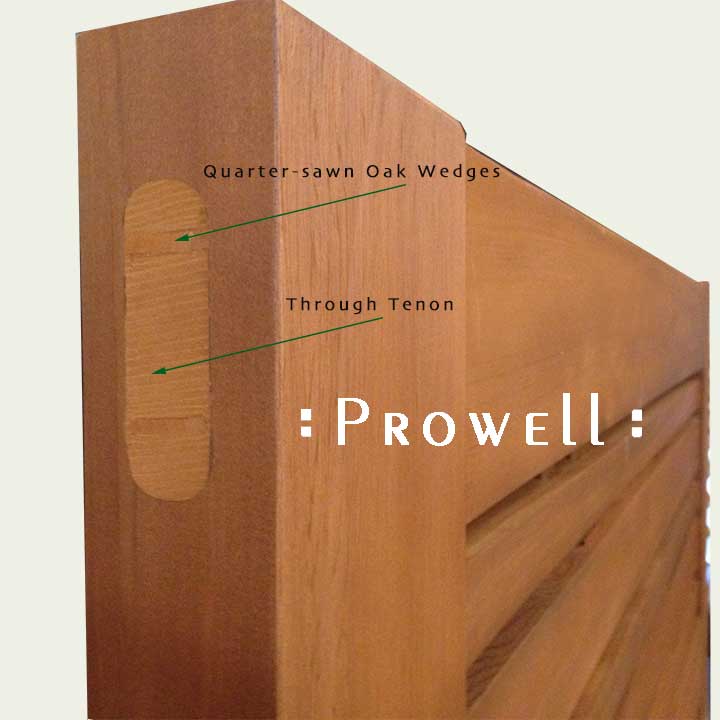
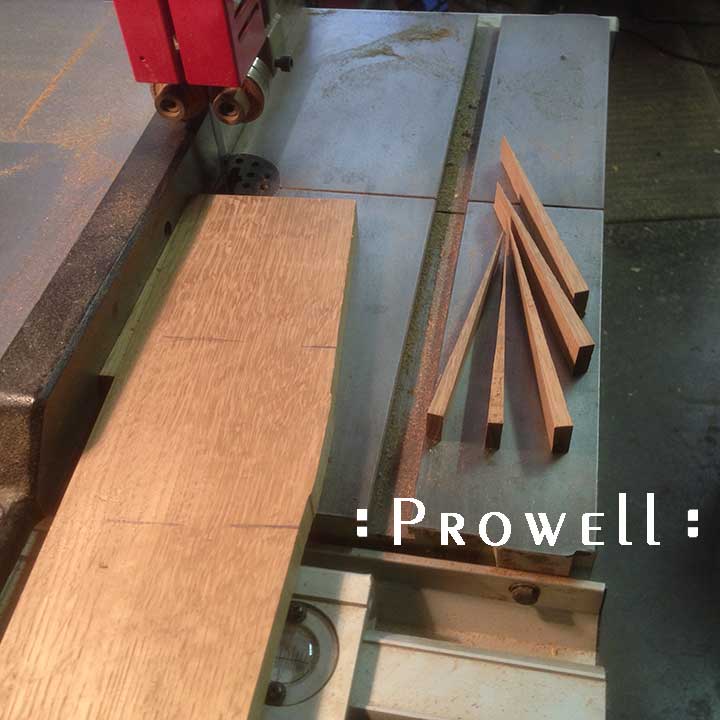
Creating the wedges out of quarter-sawn oak.
JOINERY #9
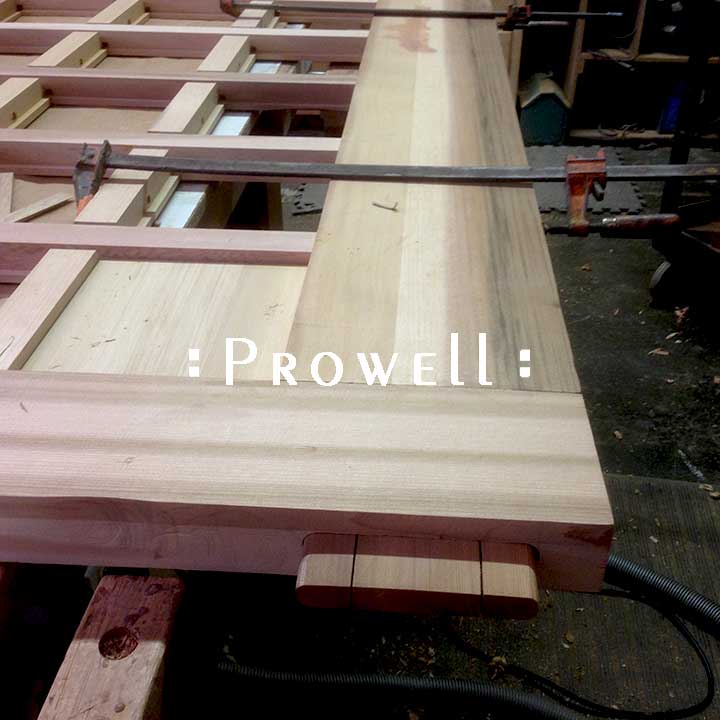
The stile dry-fitted in place. Once the glue-up process begins, the wedges are set during the same process, while the glue is still wet.
JOINERY #9
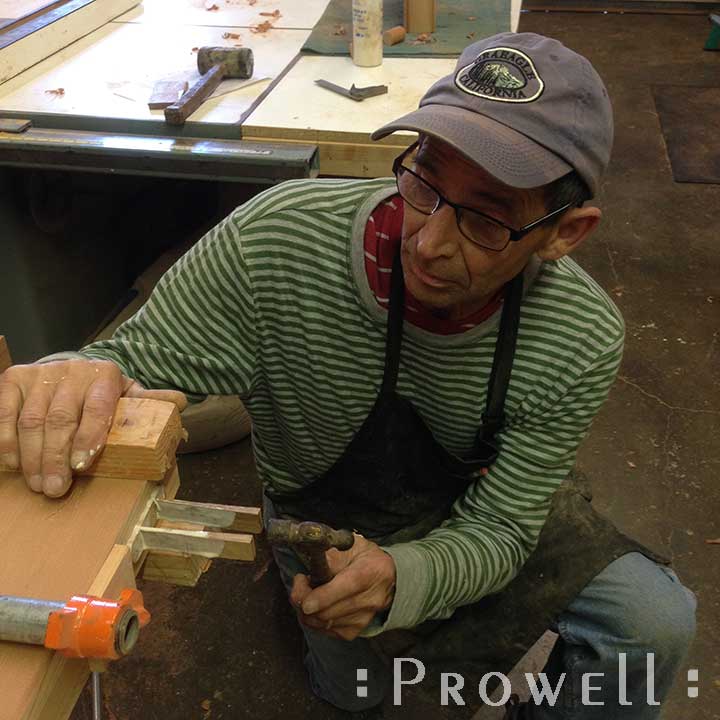
Charles setting the two wedges in place. With each tap you can feel the joint tightening, and thus strengthening.
JOINERY #9
JOINERY #9
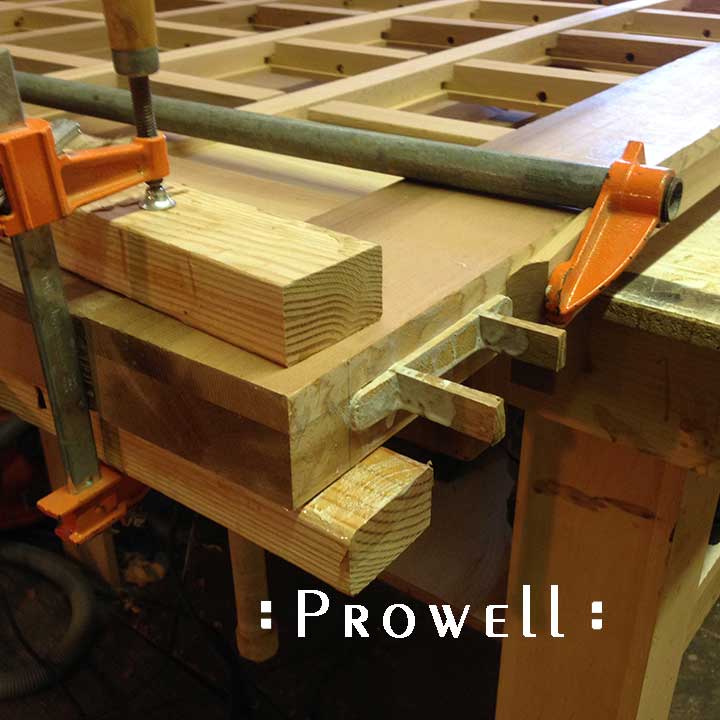
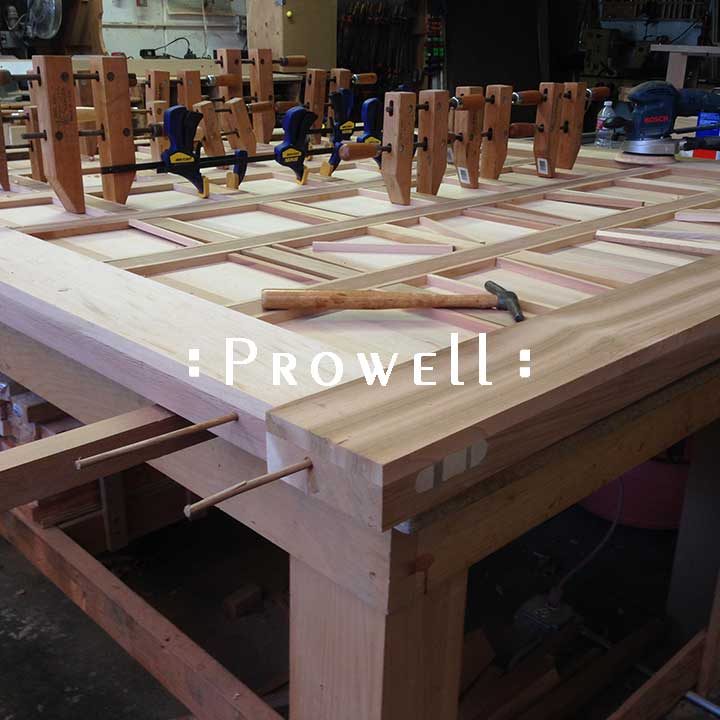
The 5/16″ diameter oak dowel keys set in through the primary stock, and into the tenons.
JOINERY #9
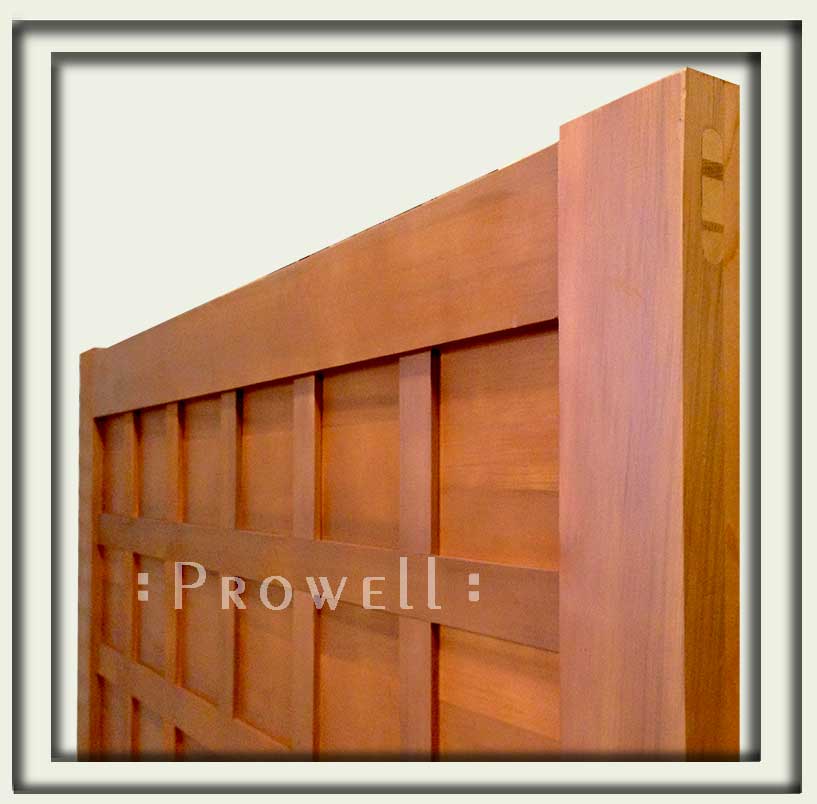
Our finished product. Gate #87.
2-1/4″ thickness. 6′ ht x 6′ width.
