Specifications for Exterior Woodworking Joint 8
#8
EMBEDDED FLOATING BUTTERFLY TENON
W/LOCKING TENON
For an exceedingly large gate, we’ve settled on the added strength of a joint that by all accounts is organic, breathing with the seasons in a system of security strongholds that virtually guarantees a structural integrity lasting generations.
* Click Here, or on the sketch for the full-size, 2-page PDF.

WOODWORKING JOINERY 8
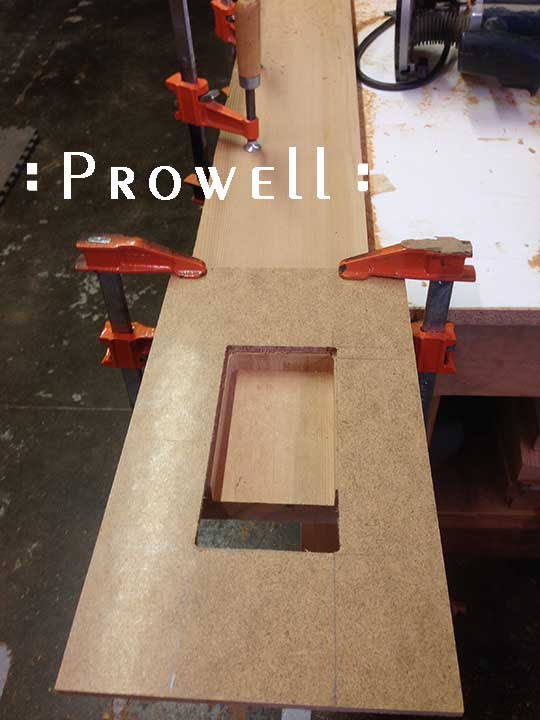
Our gate thickness of 3″ will be accomplished by eventually laminating two boards at 1-1/2″ thickness. But before we get to that, we begin by mortising out the rails to accept the embedded tenons. The mortises, shown below, are half the thickness + 1/32″ of the actual tenon, which will be 1/1/2″
WOODWORKING JOINERY 8
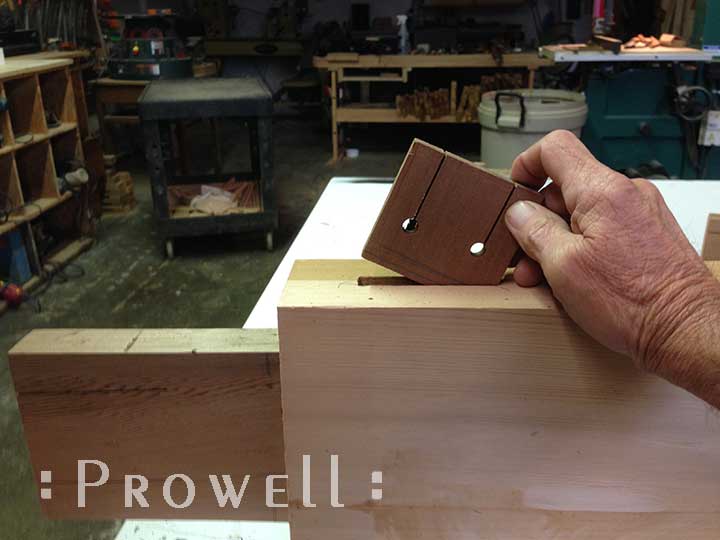
The same template is used for the adjoining stiles as with the rails.
JOINERY #8
The below mortise is duplicated for the mirrored lamination. Within the rail, on the right, our tenon is a butterfly, providing in both theory and practice, a tenon that cannot loosen. With or without glue.
JOINERY #8
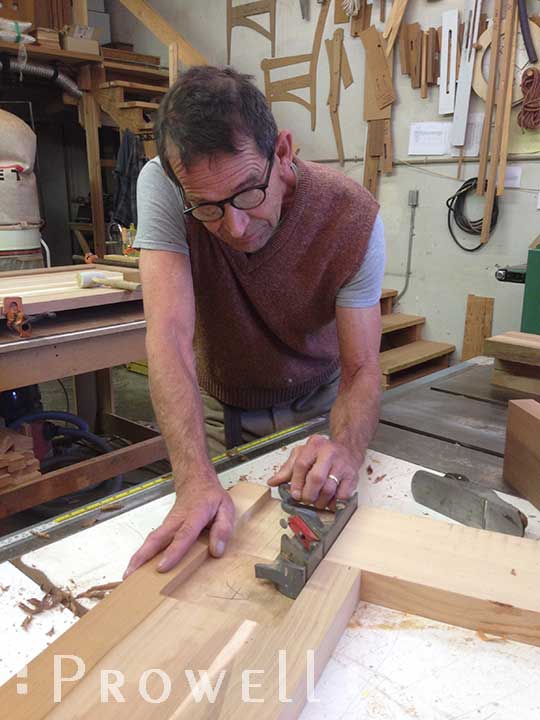
Flushing the mortised edges using a rabbet plane. One of a handful of planes and chisels Charles first used when he was 7 or 8-years old and subsequently, Ben first used when he was 7 or 8-years old. This particular plane belonged to Granddad Wyman, arranged along with a few other notable tools within that long gray toolbox inherited by Charles’ step father and one day in the early 1980’s, belonging now to Charles. That system of wholly preservation was dismissed and the tools were removed from the long gray toolbox to exist alongside all those tools used on a daily basis, by Charles, and the young Ben.
Click Here for more on those tools within the Long Gray Toolbox, dating, some of them, to Wyman’s own father in the late 1800’s.
JOINERY #8
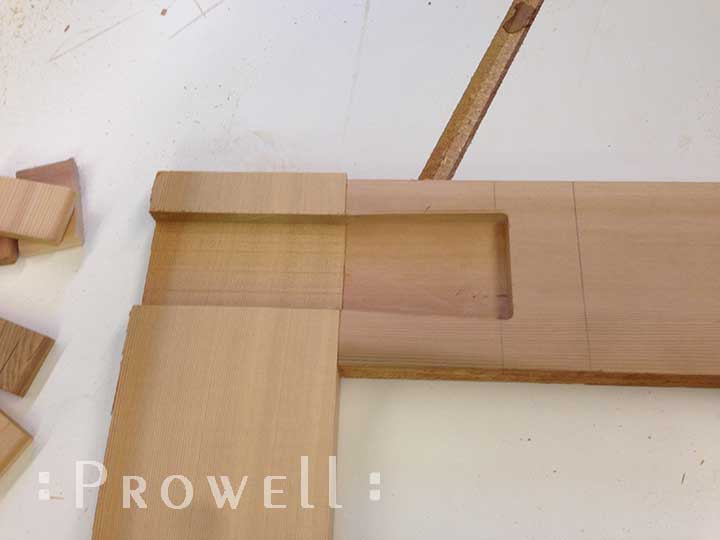
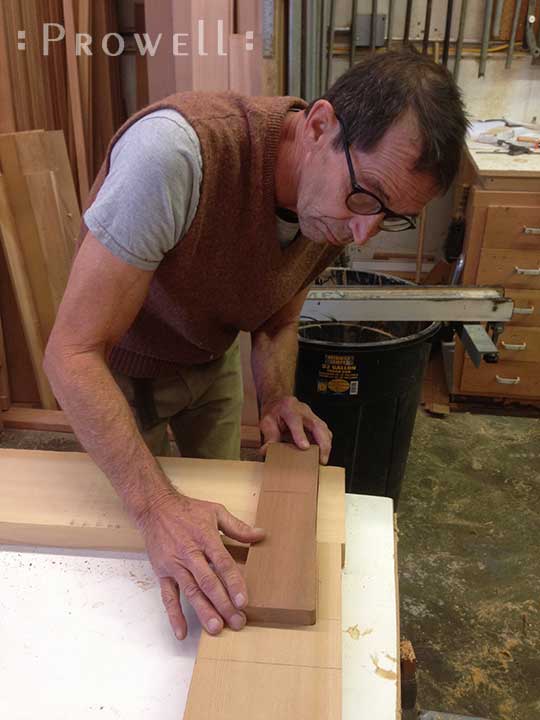
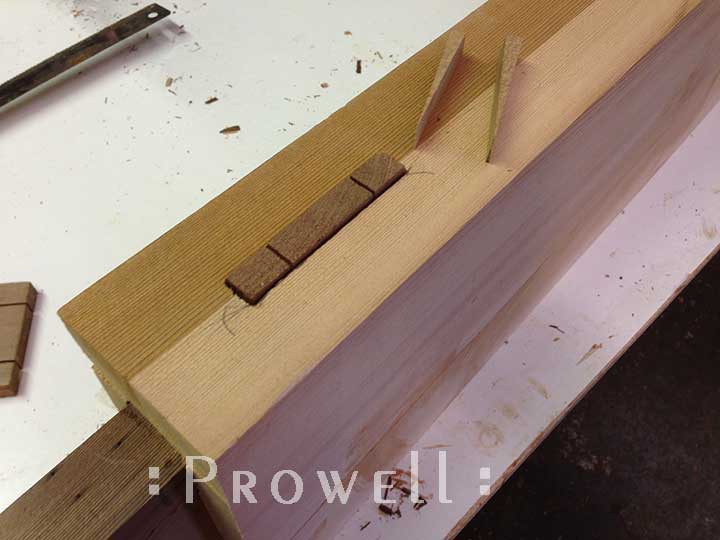
Fitting the tenon to what we’ll call the saddle-mortise.
JOINERY #8
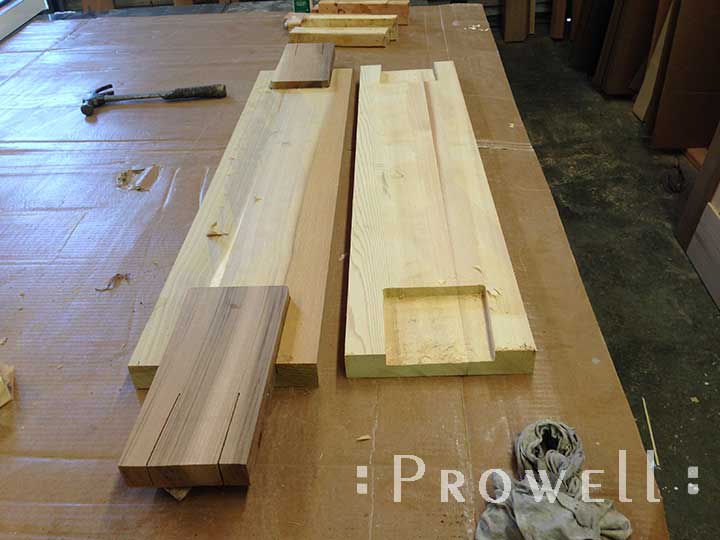
Showing the two mirror halves of the bottom rail, with it’s wider butterfly tenons seated in their saddles and ready for the laminated rail thickness to 3″.
JOINERY #8
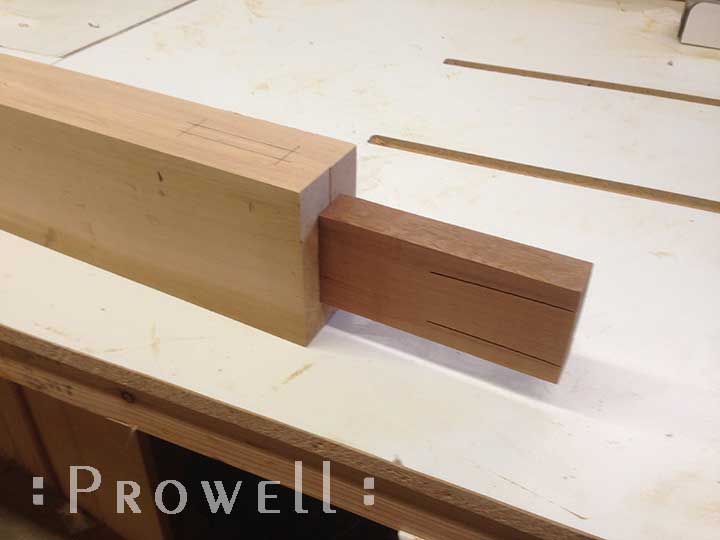
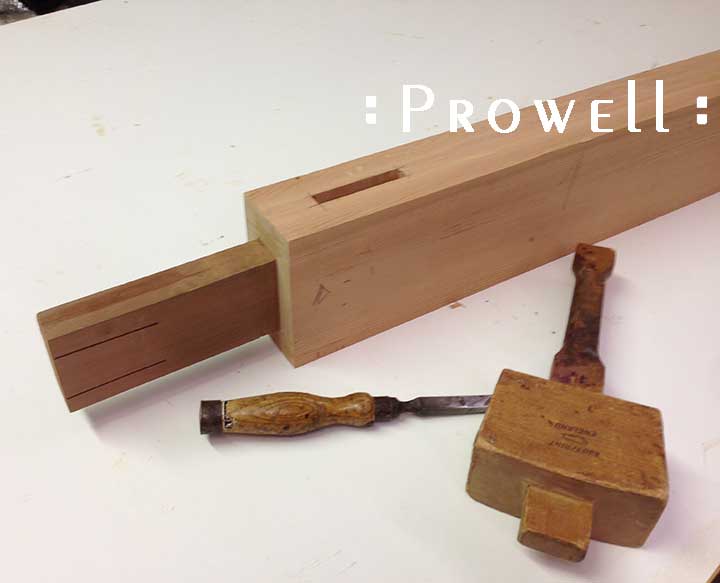
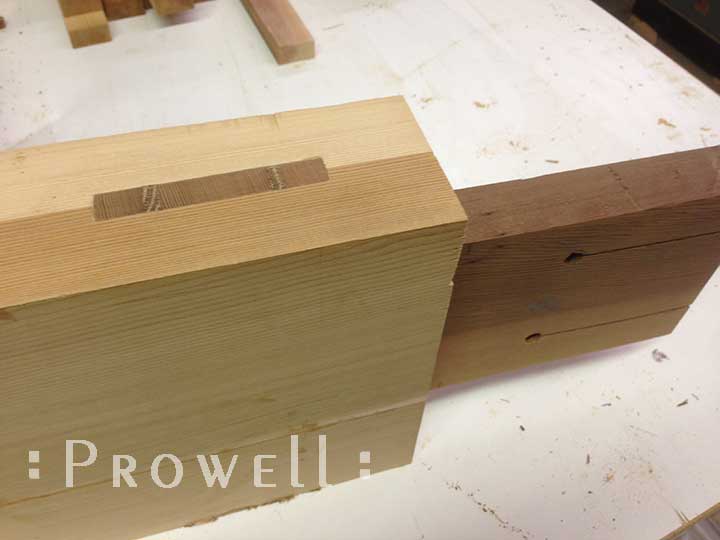
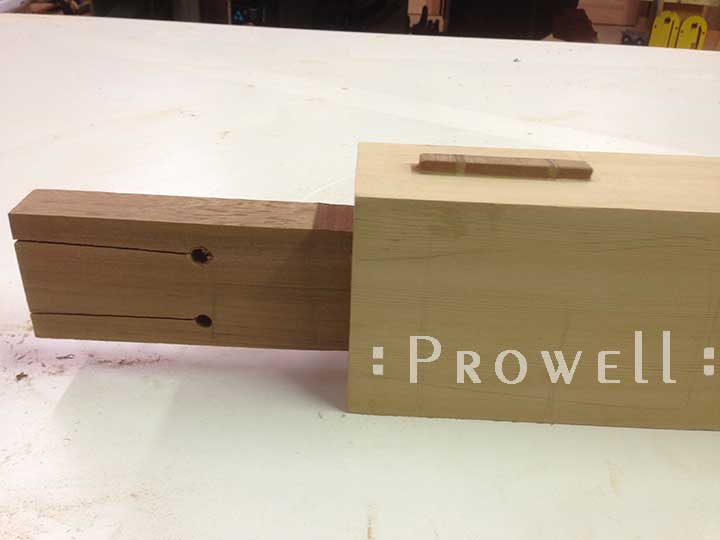
The typical rail has been laminated to 3″ thickness, with the butterfly half of the tenon embedded into its hidden saddle. The protruding tenon will fit to the corresponding through-mortise in the stile and wedged at the two shown kerfs.
JOINERY #8
The locking tenon is mortised on the horizontal mortiser and the edges squared with the chisel.
JOINERY #8
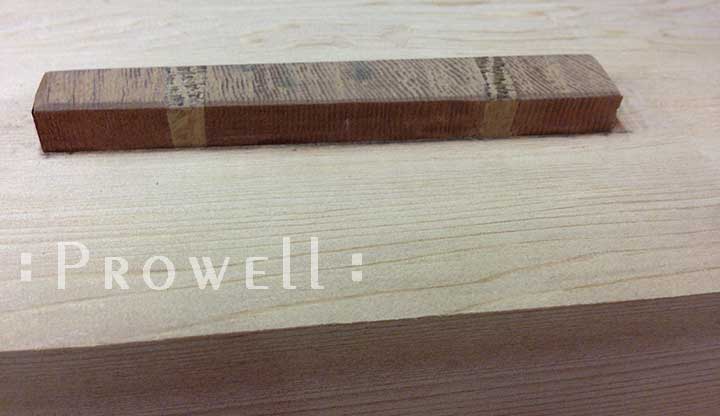
The locking tenon. Kerfed and bored for the eventual wedges.
JOINERY #8
The tapered wedges as Quarter-sawn oak.
JOINERY #8
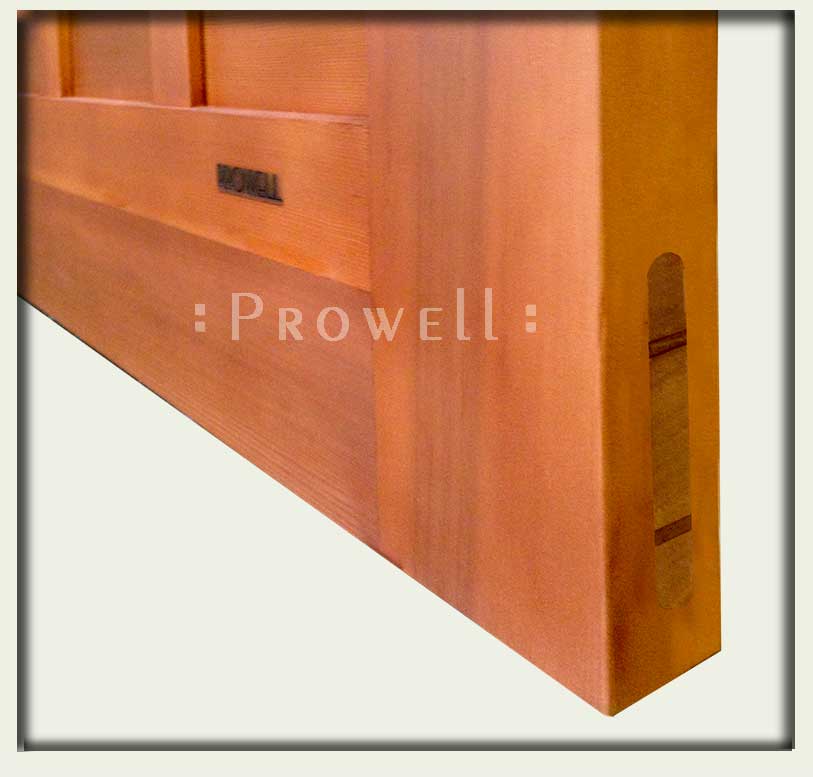
The bottom edge of the bottom rail will unfortunately never be seen once the gate is installed. Sanded flush.
JOINERY #8
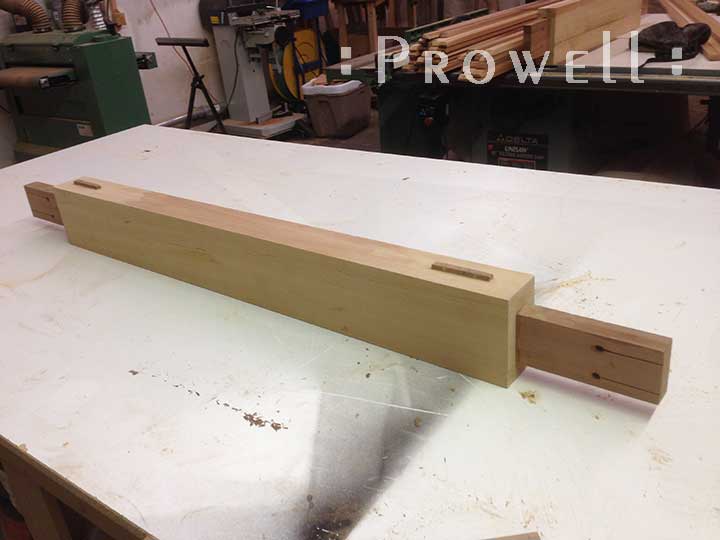
The top edge of the top rail, with the locking tenon 3/8″ proud if for no other reason than to confuse that neighbor who built his own house.
JOINERY #8
JOINERY #8
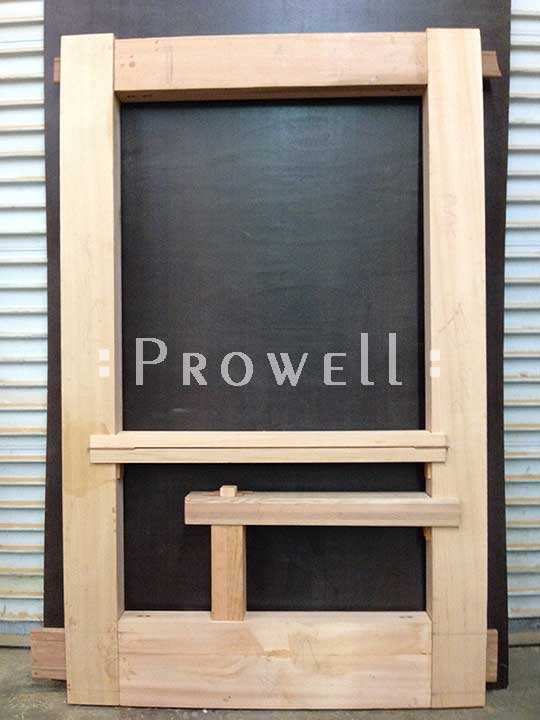
We are now ready to fit the stiles to the top and bottom rails. A dry fit only, without the wedges.
Lest you’ve forgotten, we have so far accomplished only the stile-to-rail joinery. There is the gate itself to create.
JOINERY #8
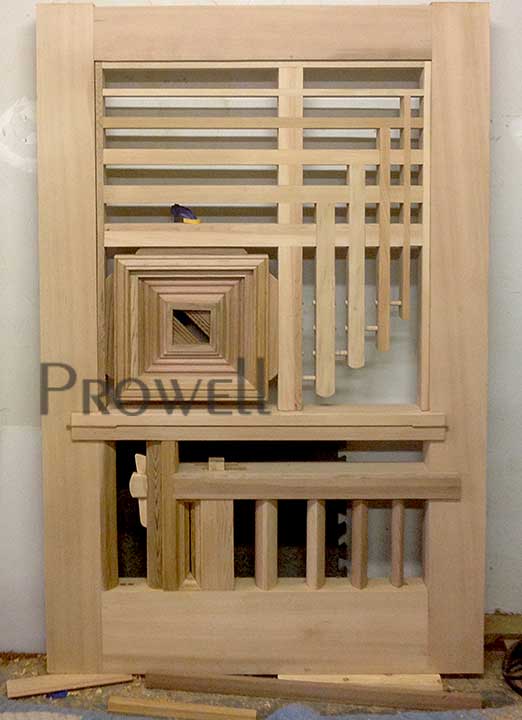
Below, Gate style #208 still in progress. Utilizing Joint #8

JOINERY #8
JOINERY #8
Gate style #208 about 80% complete.