
ARTS AND CRAFTS DRIVEWAY GATES 26
Driveway Gates 26 are Base Price + 30%
> Go to Base Price Table
ARTS AND CRAFTS DRIVEWAY GATES 26
Bel Air, CA
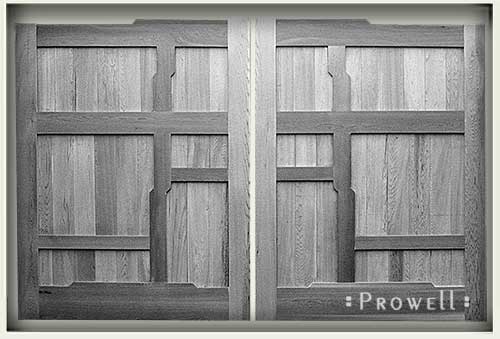
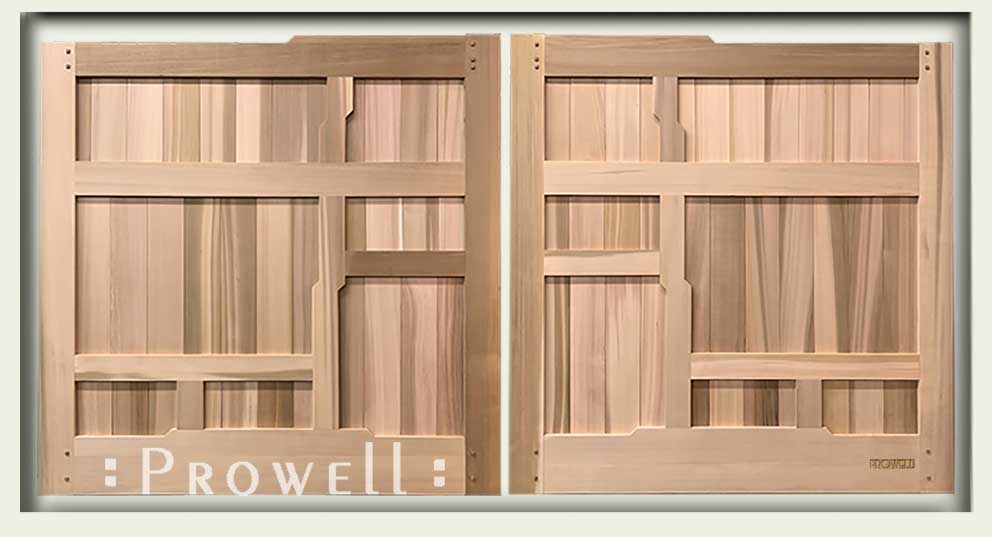
Crftsman style wood entrance gates 26 features a series of floating panels and multiple Cloud Lifts. A Craftsman detail, the Cloud Lift, first introduced by Greene and Green architects, practicing largely in the Los Angeles area at the turn of of the 20th century.
>>>To this gate style 92
>>>To Column style 5
>>>More on Green and Greene, Click Here.
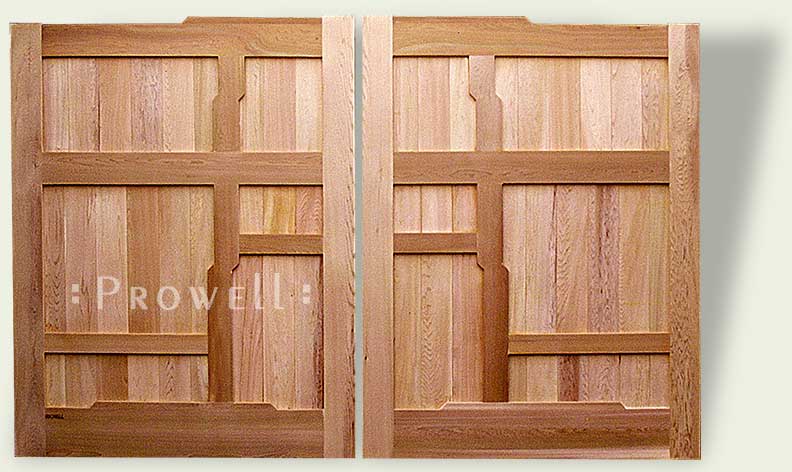
CRAFTSMAN DRIVEWAY GATES WOODEN 26
Bel Air, CA
As with all Prowell entrance driveway gates, both sides are identical. All stiles and rails are mortise and tenon joinery. All panels are free to float as solid slabs, contracting and expanding as the climate requires. Self-drainage weep holes along every horizontal rail. A method of construction that will last a century.
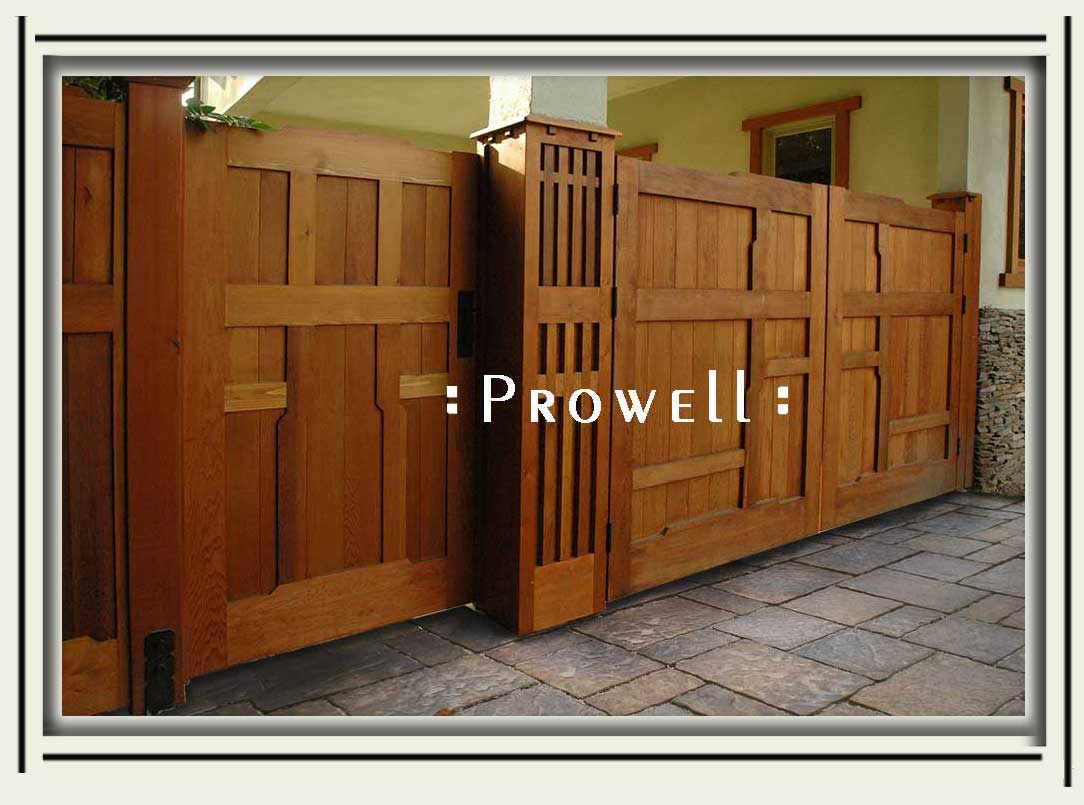
DRIVEWAY SECURITY WOOD GATES 26
Bel Air, CA
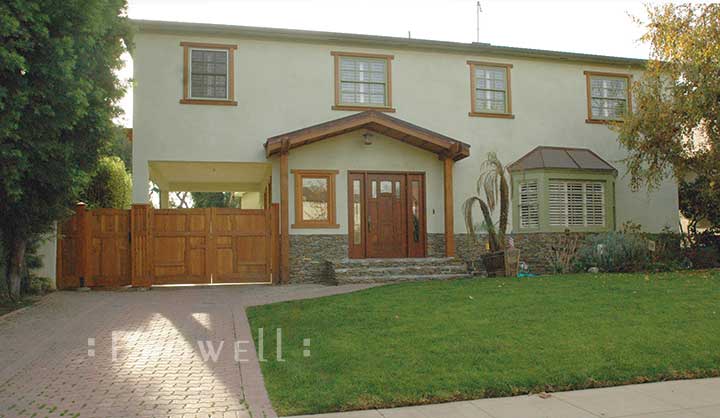
One wonders, if in this application, the drive gate assembly might more appropriately be of the same color as the body of the bay window. Deciding on whether to leave an assembly unfinished, stained, or painted, depends on a host of factors. The site; the size of the site in comparison to the residence; the proximity of the assembly to the residence; the setting, whether woodsy and organic, or urban and manicured.
The deciding goal is not to have the Prowell assembly upstage an existing precedent. It should, moreover, appear as if it were designed and built when the original structure was created.
 26-1
26-1
Base Price + 30%
![]()
ARTS AND CRAFTS DRIVEWAY GATES 26-1
San Anselmo, CA
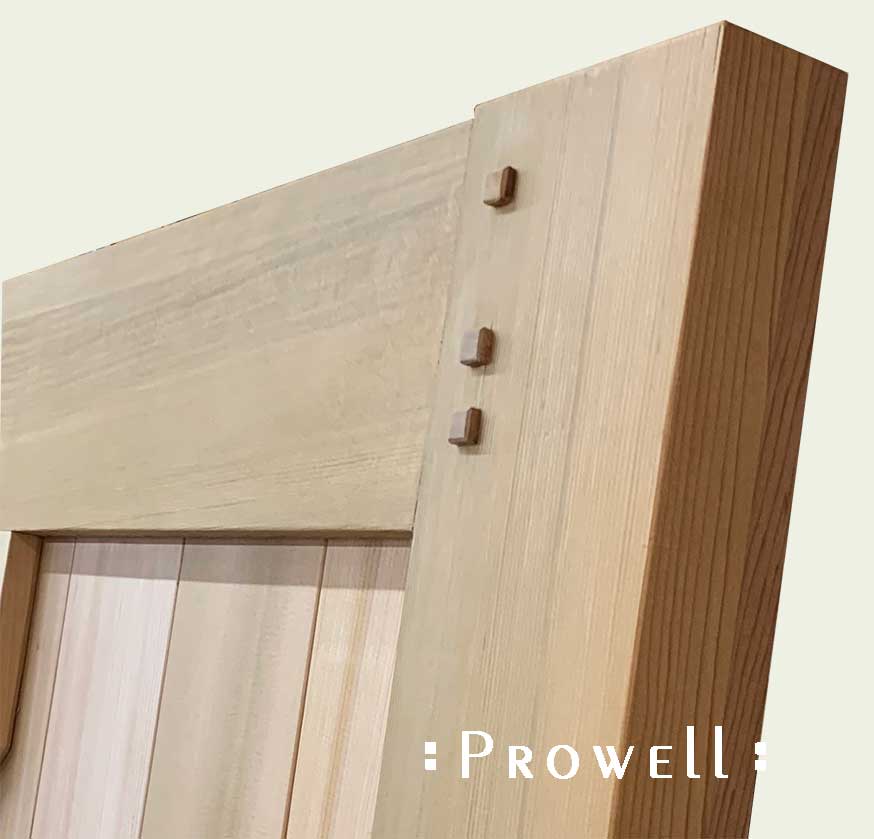
While waiting for the finshed installation photos, we’ll note the added Craftsman Integrity Pins at the primary joints–Requested by the homeowner.
The deciding goal is not to have the Prowell assembly upstage an existing precedent. It should, moreover, appear as if it were designed and built when the original structure was created.
DRIVEWAY WOOD GATES 26-1
San Anselmo, CA
![]()
PROGRESS
26–PROGRESS
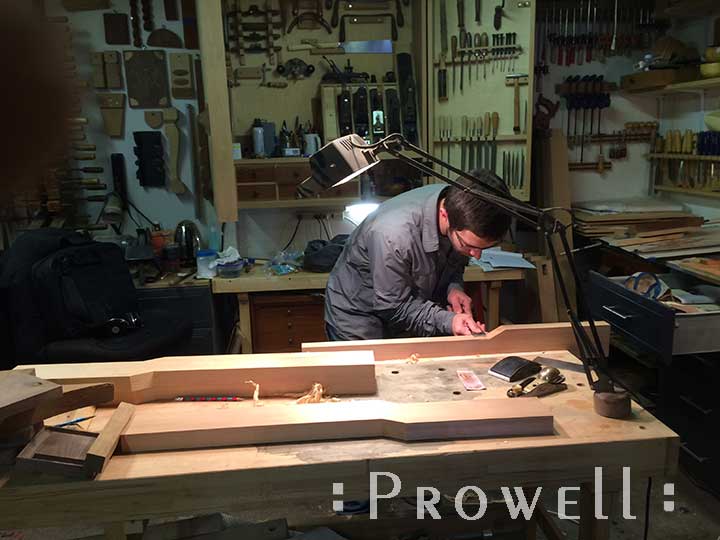
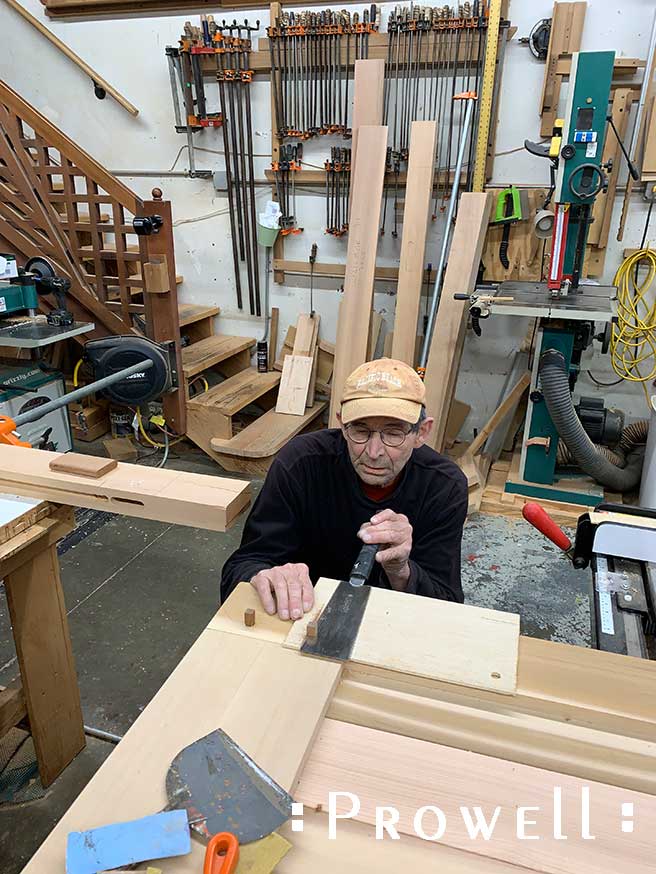
Ben truing the cloud lift of the various stiles and rails for the matching pedestrian gate #92.
26–PROGRESS
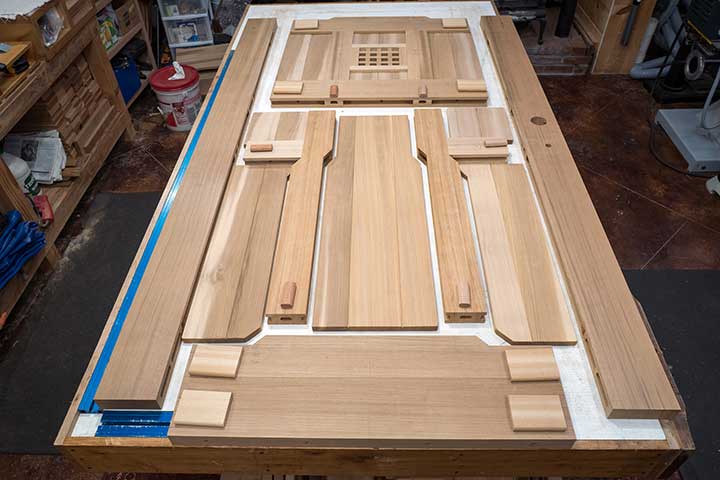
The accompanying pedestrian gate, with all the techniques and procedures identical to the drive gate. Everything laid out and ready for a final assembly.
26-1 –PROGRESS
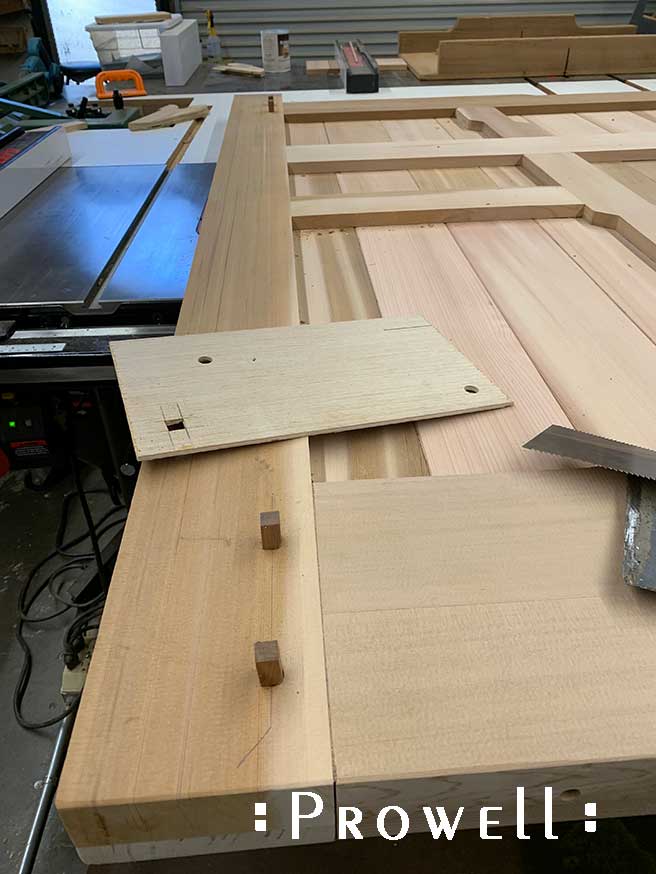
Creating square integrity pins.
Start with a ½” bore using a brad-point bit. Rip the stock to ½” x ½” and taper the ends on a disk or stationary sander, or even a small block plane. Dab a bit of glue in the hole and clean off the excess with a wet rag. Tap the pins in with a rubber mallet, mindful they’re squared to the layout. (The ⅛” thick ply shown is used to flush-cut the pins such that they’re ⅛” proud of the gate face.
26-1 –PROGRESS
Using the 1/8″ plywood guide, flush-cut the pins.
26-1 –PROGRESS
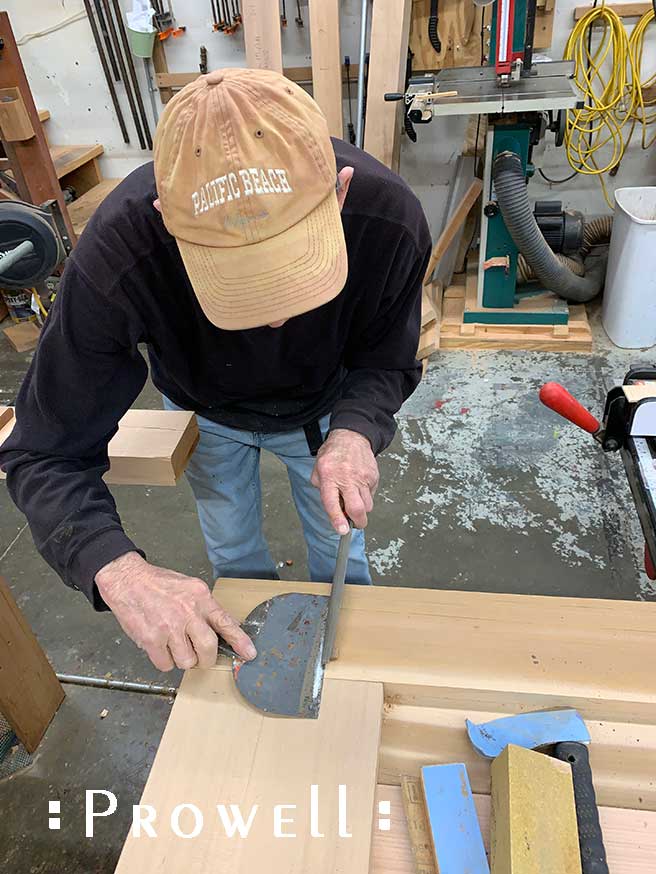
Chamfering the edges can be done with a fine file or sanding block. To avoid scratching the gate face, set a trowell against the pin as you bevel each edge.
![]()
The Designs of Prowell Woodworks are protected by Patents and Patents Pending.


# 0507-Feitelberg
#26-1–2604-Taylor