Specifications for Exterior Woodworking Joint 9-1
#9-1
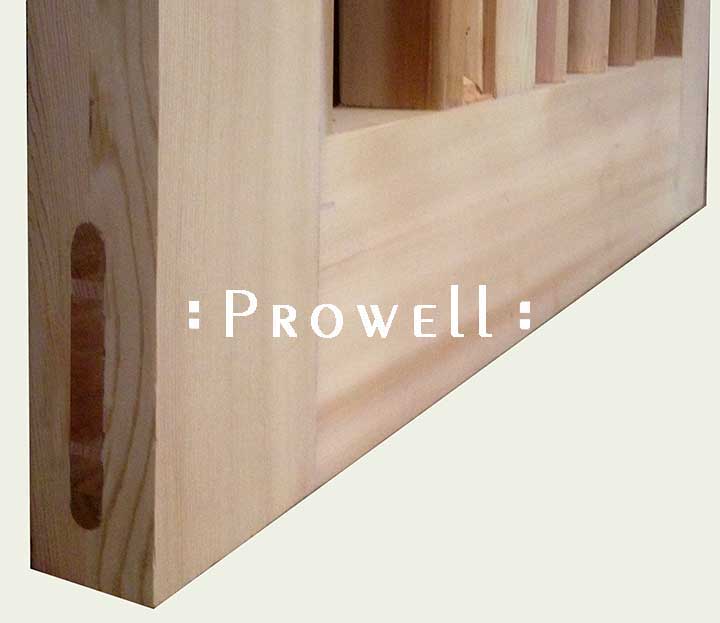
FULL THROUGH WEDGED FLOATING TENON
W/DOUBLE LOCKING HAUNCHES
FULL THROUGH WEDGED FLOATING TENON
W/DOUBLE LOCKING HAUNCHES
By the time we’ve finished rolling the above phrase off our palates, we could have built the thing. So take a breath, settle into your Oneness, and take a detour into a stanza bordering on performance art. A Vaudevillian drama of self-centered, egotistical wedges and haunches competing for the spotlight and held in check by nothing more than the calm, deliberate pace of the woodworker.
Click Here, for the pdf specs.
JOINERY #9-1
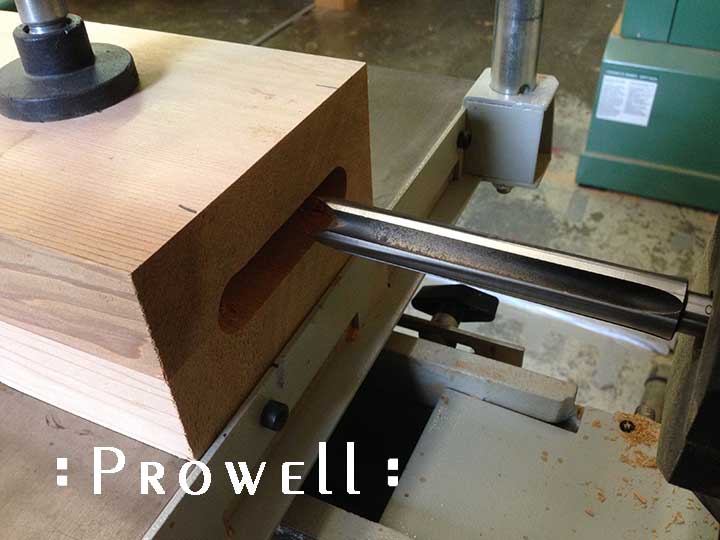
We begin by mortising the rails to 4″ depth. Shown with the Laguna Mortiser, this can also be done with a plunge router and mortising box.
JOINERY #9-1
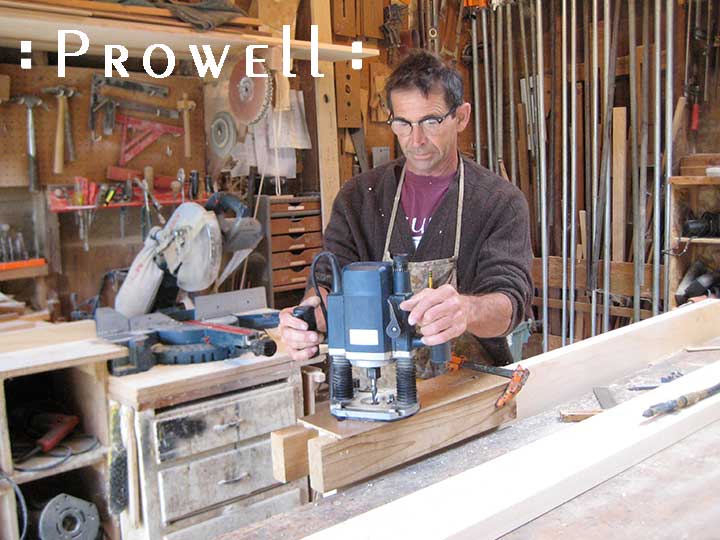
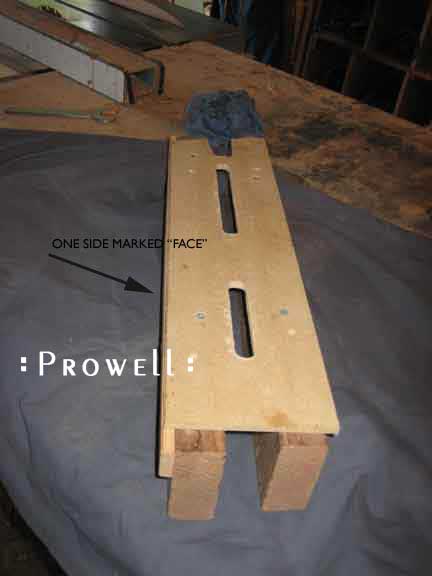
Creating a simple mortise box and using a plunge router fitted with a 1/2″ upward spiral bit and a template guide attachment within the base. The bit, available through Woodhaven, has an overall length of 4″ and a cutting depth of 2-1/2″.
JOINERY #9-1
If you’re using this method, be sure to mark one face of the apron that clamps against the stock. This marked side must always clamp to the same marked face of the stock itself, insuring your mortises are aligned.
JOINERY #9-1
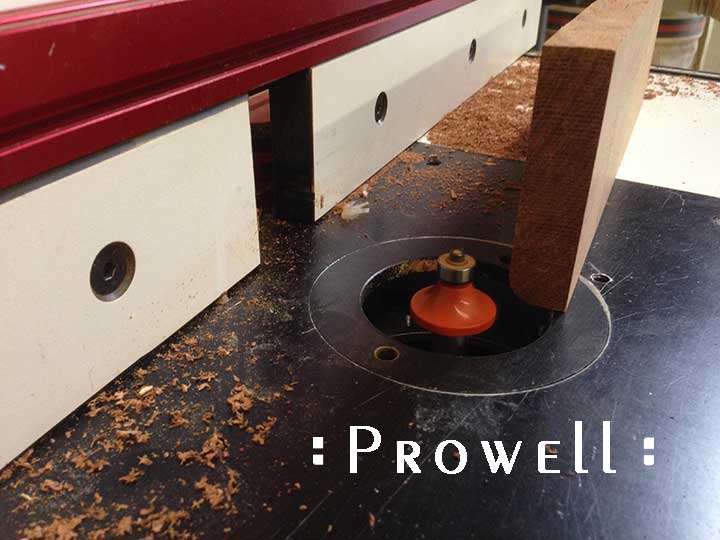
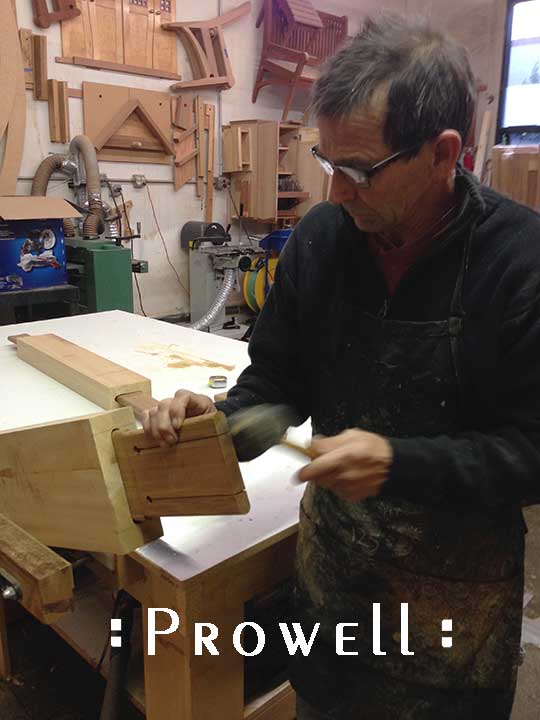
The 3/4″-thick tenon is eased with a 3/8″ round over bit.
JOINERY #9-1
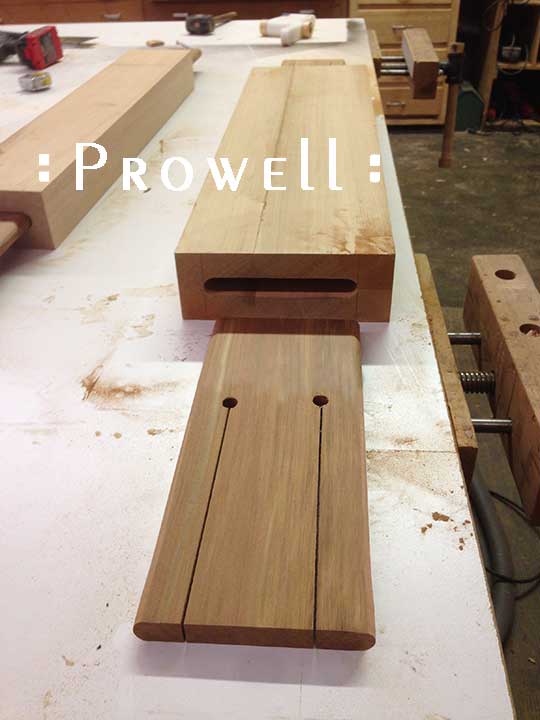
That portion of the tenon to be fitted within the stiles is cut 1/8″ narrower to allow for the eventual wedges that will, by design, expand the two flanges into a tight fit.
JOINERY #9-1
If you can slip a tenon into it’s mortise without resistance, then the joint is too loose. Re-cut the tenon until it’s snug enough that it requires a light tapping with your mallet.
JOINERY #9-1
JOINERY #9-1
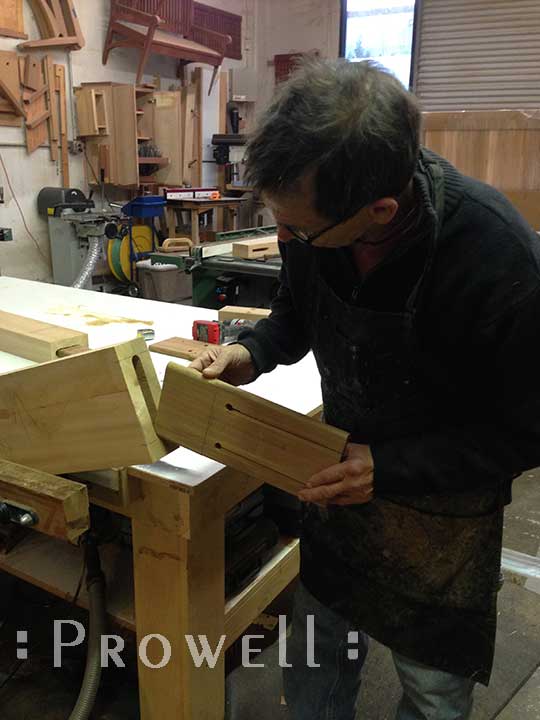
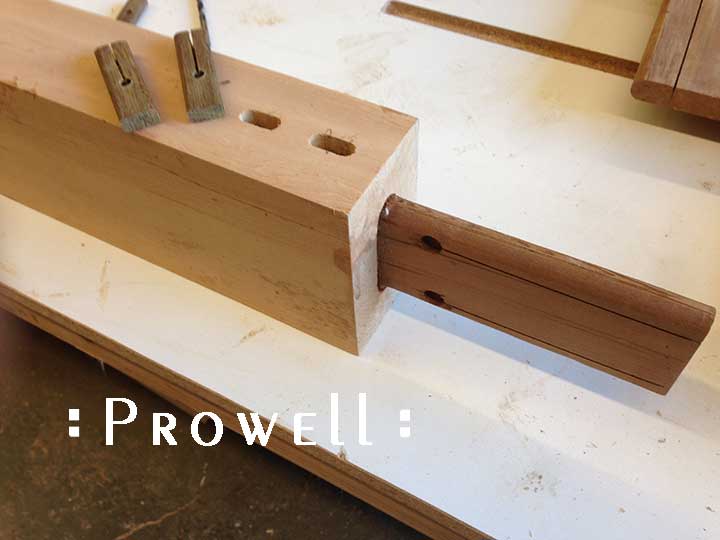
Fitting the tenon through the stile. Showing the mortise at a loose width to allow the eventual wedges to spread our tenon into a tight fit.
JOINERY #9-1
The tenons are glued into the rails, with the stiles dry-fitted simply to insure the tenons are straight and aligned with the stile mortises.
JOINERY #9-1
The top edge of the bottom rail is mortised for the single locking key.
JOINERY #9-1
And the same with the bottom edge of the bottom rail, which of course will never be seen by anything but an ecosystem of insects.
JOINERY #9-1
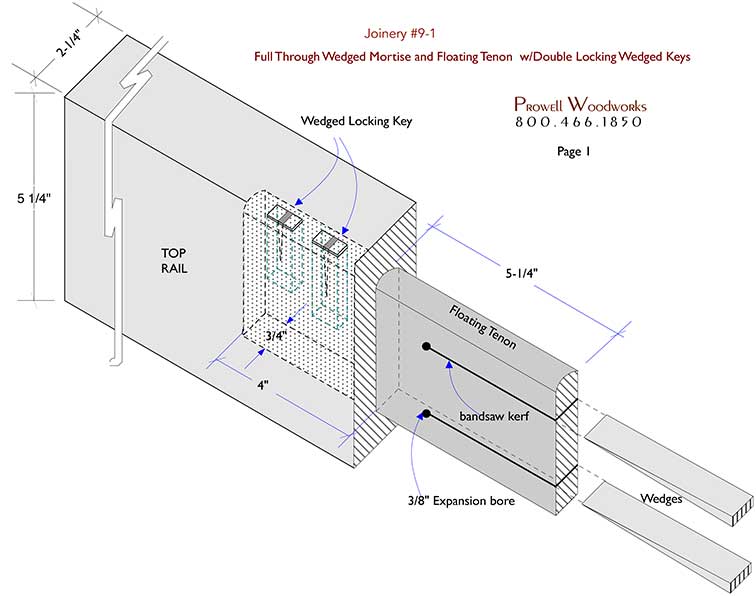
The bottom of the top rail mortised for dual locking keys. These mortises are at different depths, as per the sketch. Thus avoiding the tendency for the floating tenon to split.

JOINERY #9-1
The top locking keys.
JOINERY #9-1
As with the primary tenons, the mortises are loose to allow for the eventual wedges. We are using Ipe for these tenon keys simply because of the contrasting darker coloring. It’s a resistant species with dense properties. Although it’s been a decade since Ipe was first introduced as a common inventory to most lumber yards, it’s important to insure your own yard’s stock is from a certified sustainable harvest. Check their inventory for an FSC code (Forest Stewardship Council). Although there are a number of certification entities, this is the original that has grown into something of an industry standard.
JOINERY #9-1
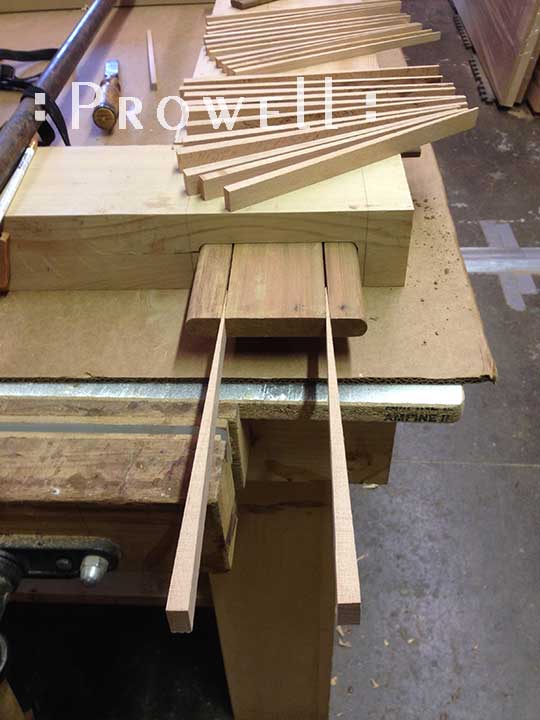
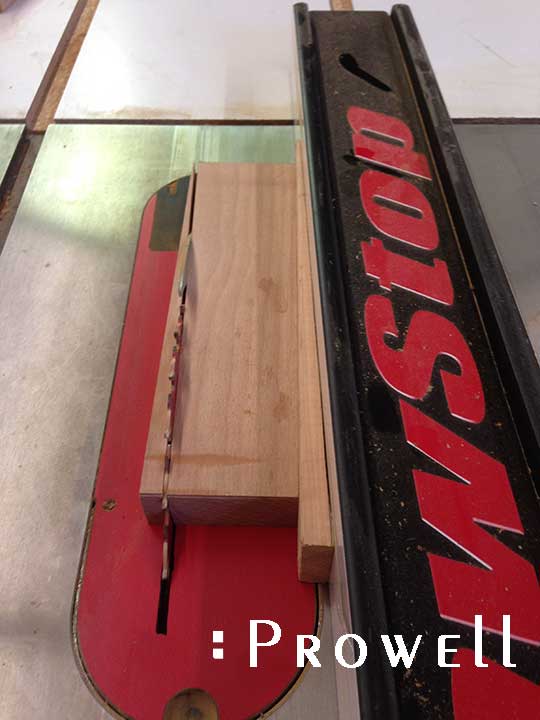
There are a number of means to create tapered wedges. One is to create a pattern on the table saw or bandsaw and slide the stock, and pattern, against the fence. After each cut, removed the pattern and rip a straight cut that will create another taper. With a straight edge once again, return to the tapered pattern. And on and on.
JOINERY #9-1
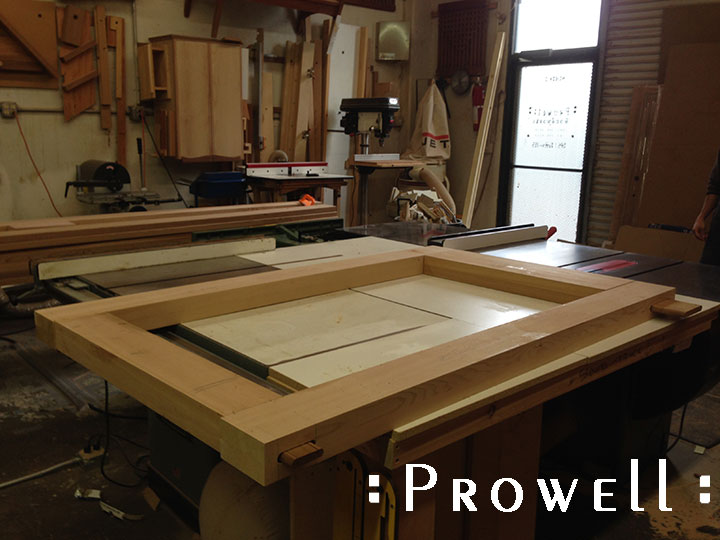
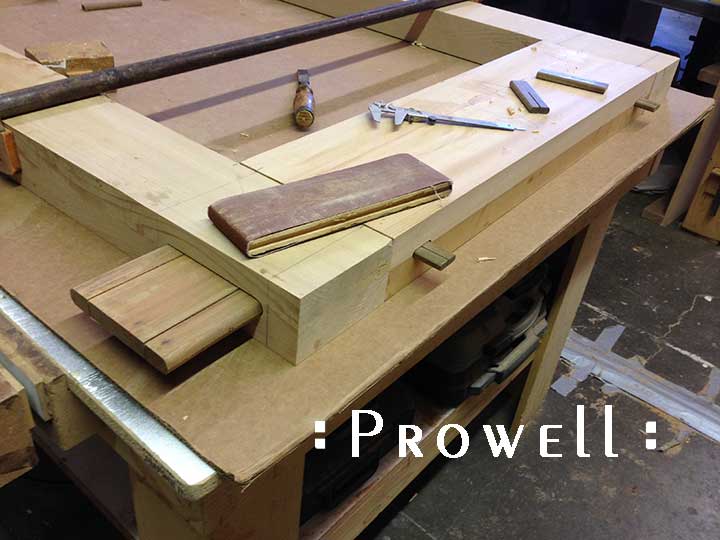
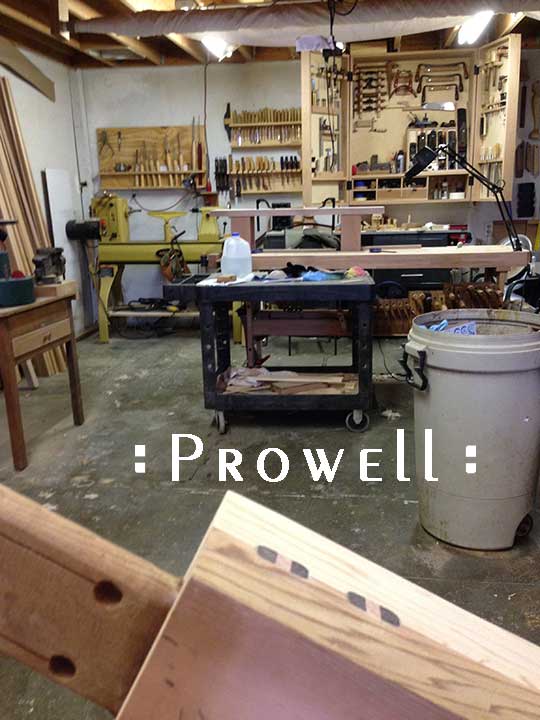
We will not be assembling these primary joints for some time, and yet the image illustrates the methodology. There is still the actual gate to design and build, which will require that the stiles and rails be loose to cut the the bevy of joints still ahead of us.
JOINERY #9-1
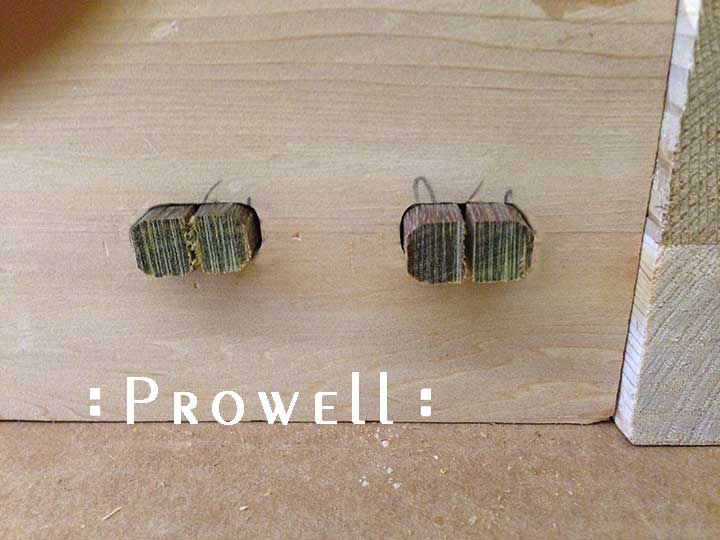
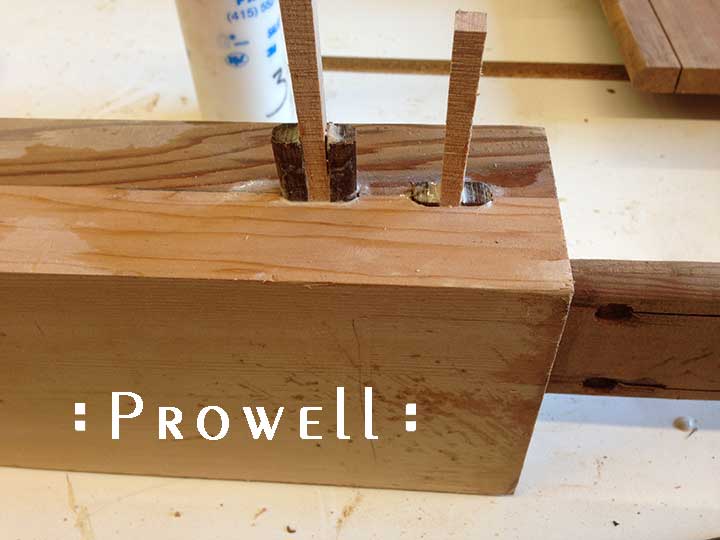
The pair of top locking-keys with their expansion kerfs.
JOINERY #9-1
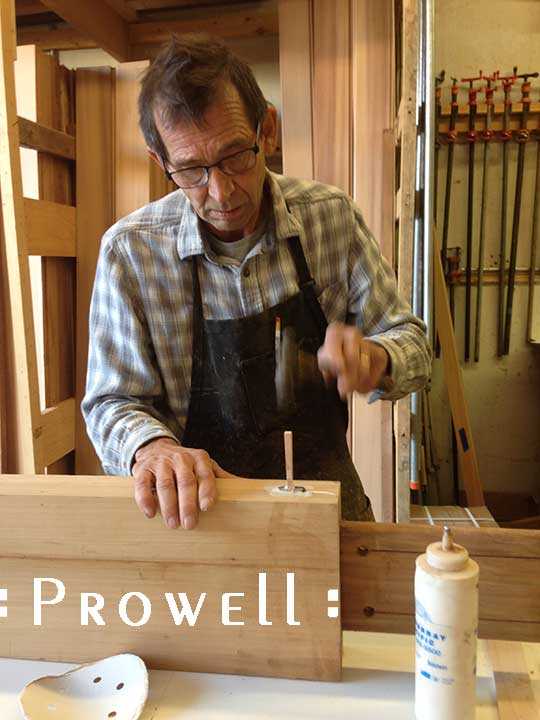
The keys are glued and tapped into place and within the same sequence, the wedges are also tapped into place. If you tap the wedge in place and the tenon doesn’t expand enough, pull the wedge out and cut it shorter, re-taper it on the disk sander, and try again. And again if necessary. And try, during this sequence, to appear a little more intelligent than the photo below.
JOINERY #9-1
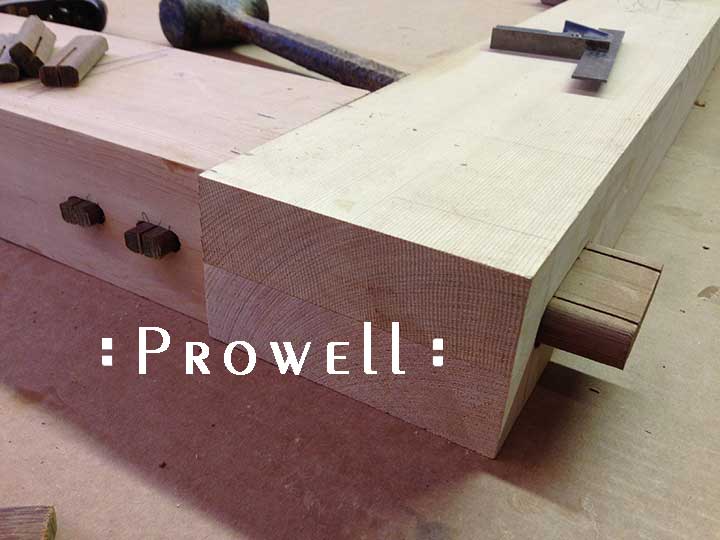
The keys are driven tight to the mortise shoulders. At this juncture, everything is kiln-dried and at approximately 5% moisture. The moment this assembly is introduced to the elements,be it Georgia or San Francisco, it will expand with the absorption of dew, fog, rain, and the relative humidity to an even tighter fit.
The exception is the likes of Phoenix, Palm Springs or Las Vegas, where wood assemblies are ravaged by a dry heat that can hover around 110 degrees and for 24 hours not drop below 100-degrees for all of July and August. God-awful weather. God-awful architecture. And a God-awful culture where the sidewalks are empty of strollers, everyone in their air conditioned homes or their air-conditioned cars or their air-conditioned malls, avoiding one another.
WOODWORKING JOINT 9-1
The top locking keys sanded flush, marking the end of this procedure. The fully completed primary joints will not be photographed until the rest of this gate is complete, which will likely not come about for several months. Any progress on that project will be posted on Gate #208 within Gallery 1C.
We hope this has all, at some level, been both inspiring and informative .
WOODWORKING JOINT 9-1
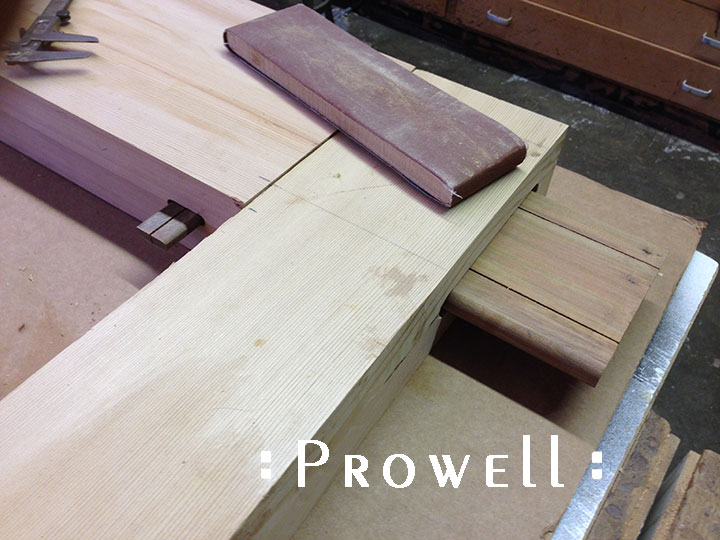
The bottom rail joint.