Woodworking Joint 3
Specifications for Exterior Joinery
#3
SLIP JOINT (or Bridle Joint)
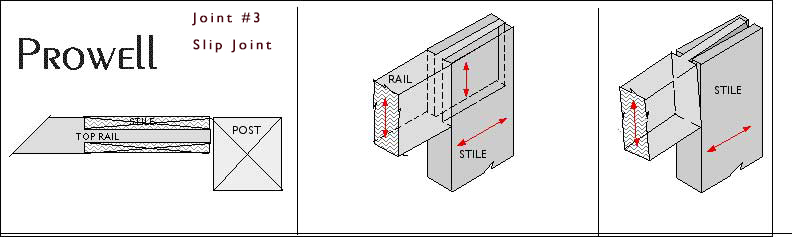
JOINERY #3
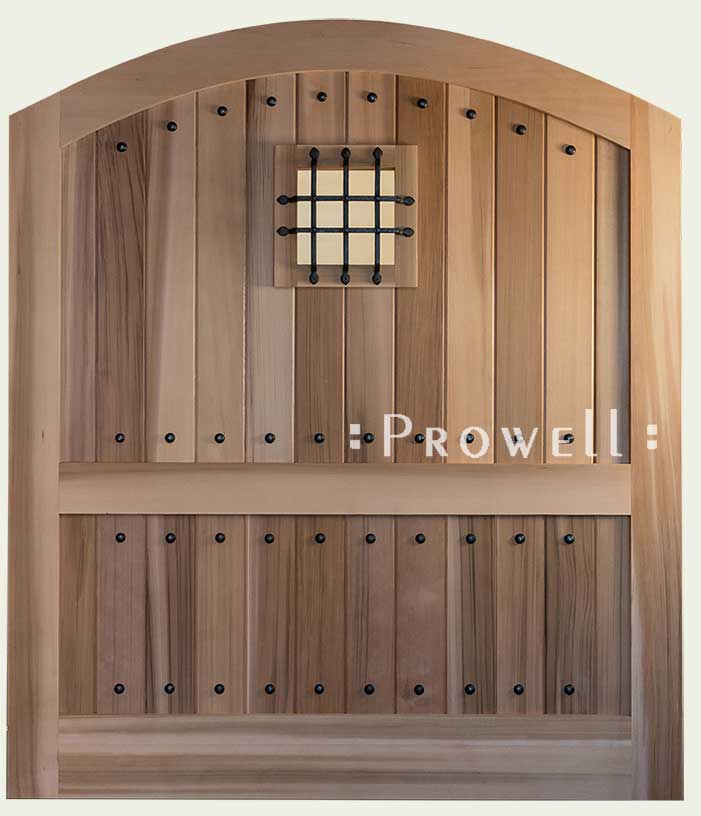
A fairly large gate at 69″ width. 2-1/4″ thickness. An arched top rail. No steel frame.
JOINERY #3
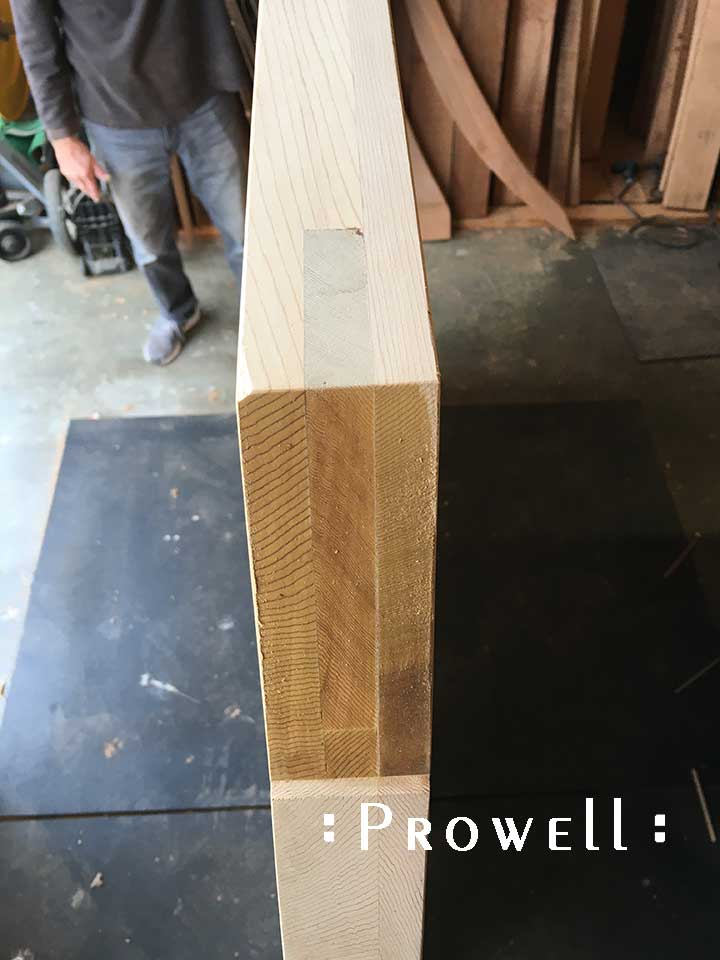
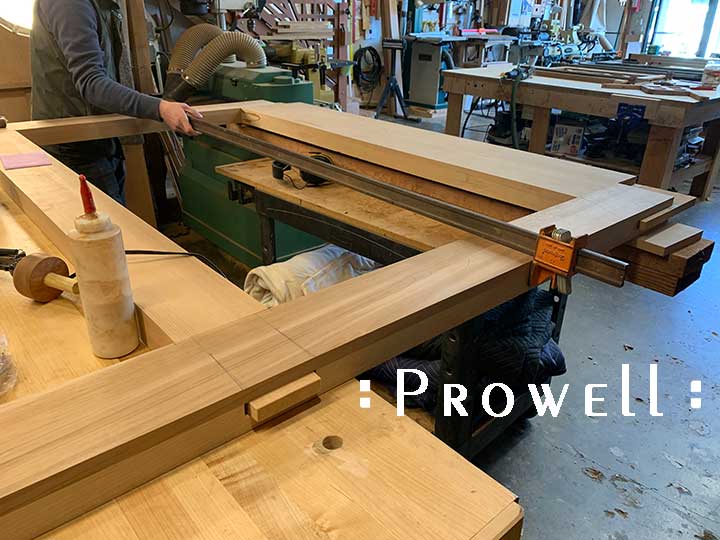
Cutting the tenon as a continuation of the rail. Square shoulders, and cleaning the cheek with a chisel for the tightest fit.
JOINERY #3
JOINERY #3
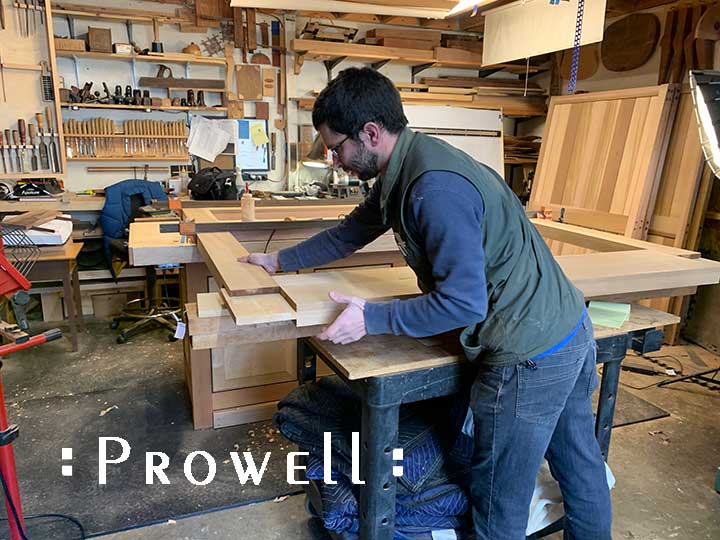
Dry-fitting the top arched rail. The rail has been edge-glued to the width required for the arc. A 6″ rise over 69″ does not require a segmented rail.
JOINERY #3
Clamping the dry-fit to enable scribing the top arch, and it’s intersection with the top of the stiles.
Note the middle rail joinery, using a straight continuous through-tenon that will ultimately be locked with dual oak wedges.
WOODWORKING JOINT 3
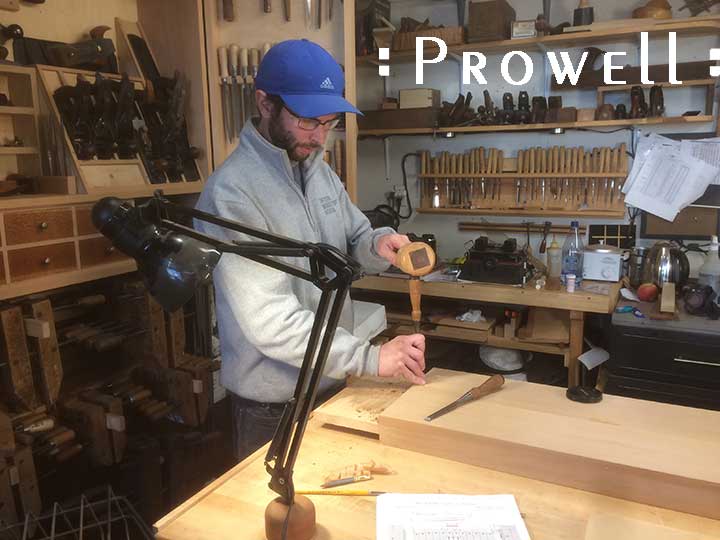
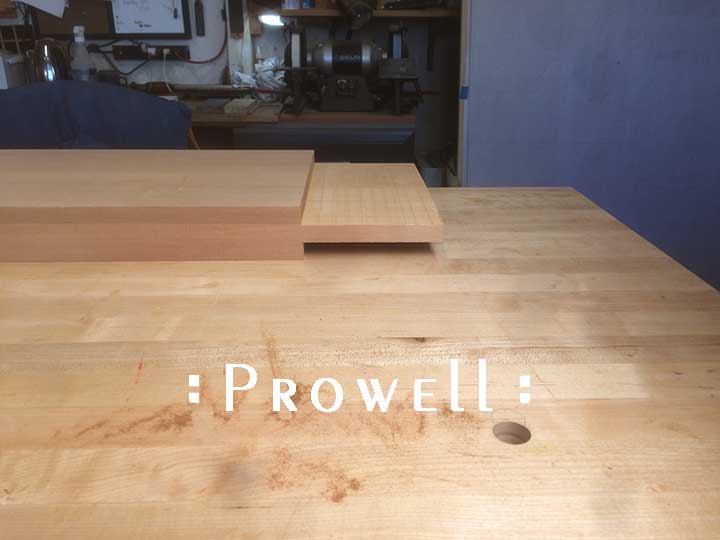
With the gate laid out, a radius gauge is used to scribe the top arch. When the radius is steep enough, the joinery into the stile (bottom left) is undermined by the continuation op the arc. Hence, eliminating the ability to use a standard through-tenon. The red arrow points to the faint pencil line that has been scribed with the radius gauge.
* Radius gauge are approximately 1/4″ thick x 2″ wide. Kerfed at each end to receive the knot of a stringline. The stringline itself is fitted with a turnbuckle that becomes a micro adjustment for the final radius.

JOINERY #3