
GATE JOINERY 6
Specifications for Exterior Woodworking
#6
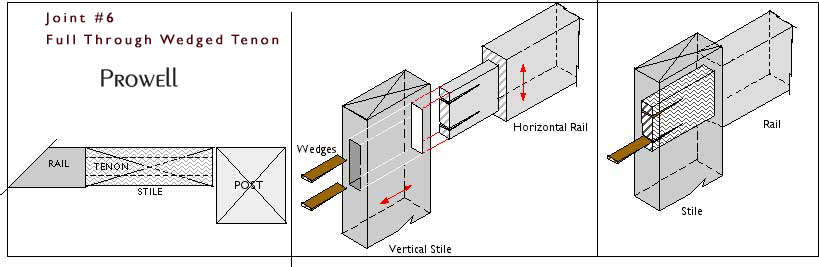
THROUGH FLOATING TENONS with WEDGES
JOINERY #6
Joint #6 is a procedure Prowell will turn to now and again, depending on the application and the location of the site itself.. The first known use and still standing in near perfect condition today are two temples in Japan, built in cypress cedar in 413 A.D and 607 A.D. Much later, and also still standing, a church in Oslo built in the 13th century. Both utilizing joint #6.
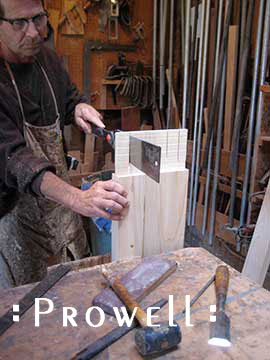
Although we see a bit-driven radius below, The #6 joint is also commonly seen as a square-cut mortise (scroll down), managed with either hand chisels or square mortising bits. Another feature often exhibits the top and bottom shoulders as tapered with a hand mortising chisel to create an even stronger joint. Once the wedges are driven in, the portions of the tenon on either side of the kerf can expand into the tapered shoulder as the tapered wedge drives deeper. The logic is easy to visualize, and somewhat similar to a wedge-style expansion masonry bolt.
As the square-shouldered tenon

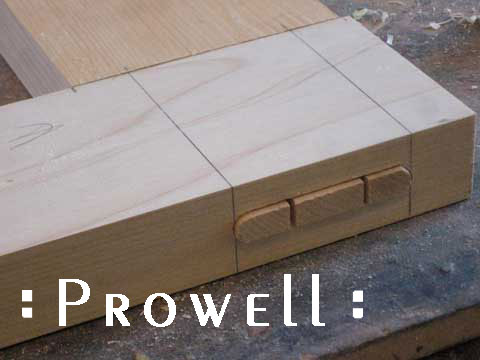
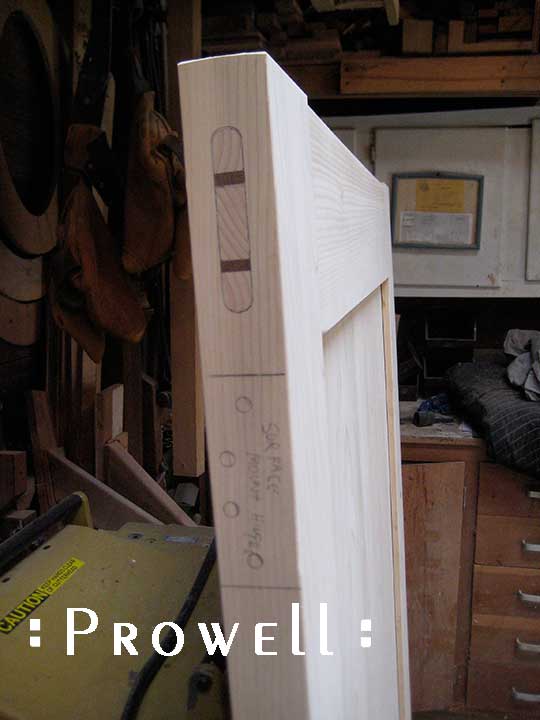
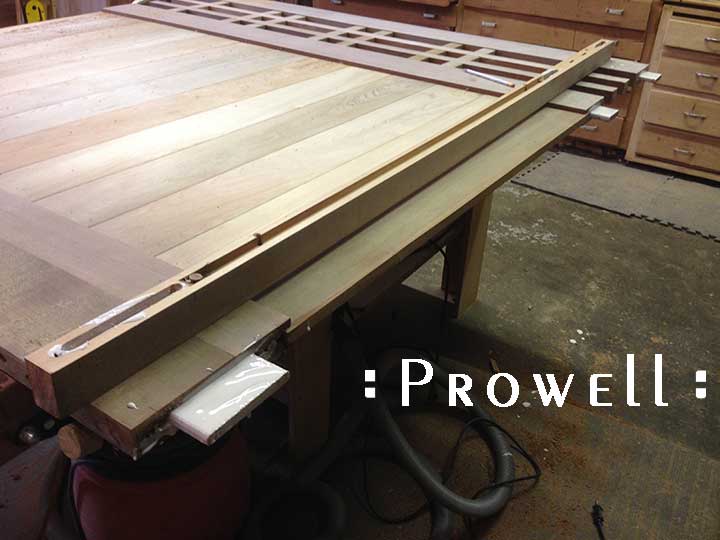
Shown as a dry fit, prior to kerfing the tenon for the two wedges.

JOINERY #6
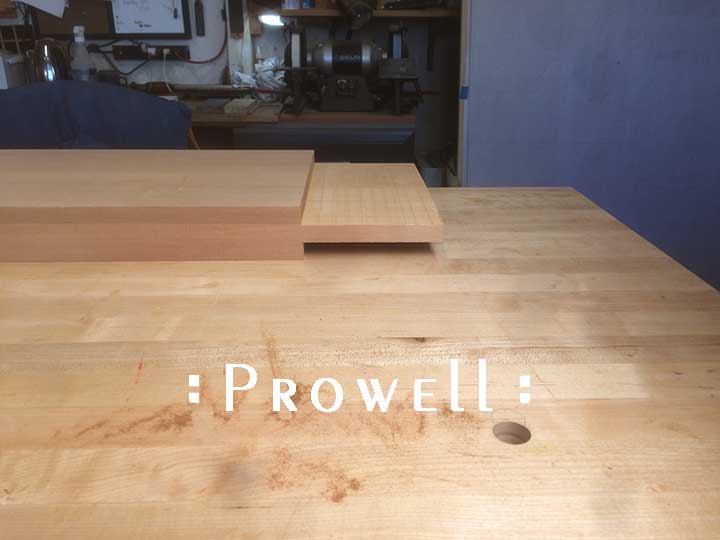
Joint #6 is the only joint used by Prowell where the tenon is not loose, or floating. The tenon itself can be cut on both the table saw or the bandsaw. On the table saw, the entire length of the tenon is cut on the miter gauge with a dado blade, including the side cheeks. Using a band saw, the initial shoulder and cheek cuts are made on the table saw, with the rest roughed out on the band saw. The same procedure as if we were building a dining room table where the aprons join to the legs.
JOINERY #6
The Laguna Horizontal Spindle Mortiser. A versatile, affordable tool with a maximum bit depth of 4″.
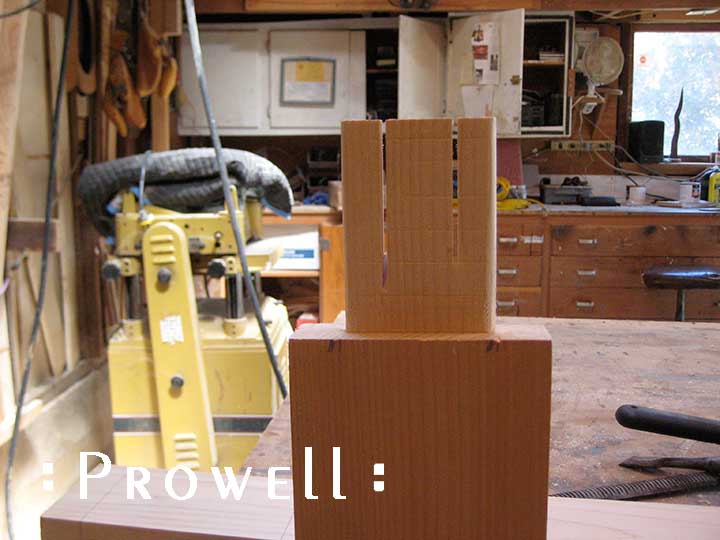
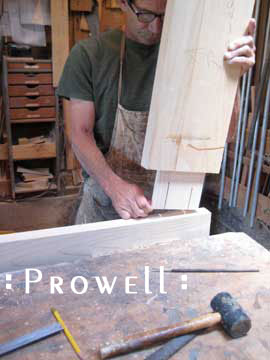
If you transfer your lines from one side of the stock to the other and do so accurately, the end-for-end entry will line up
GATE JOINERY 6
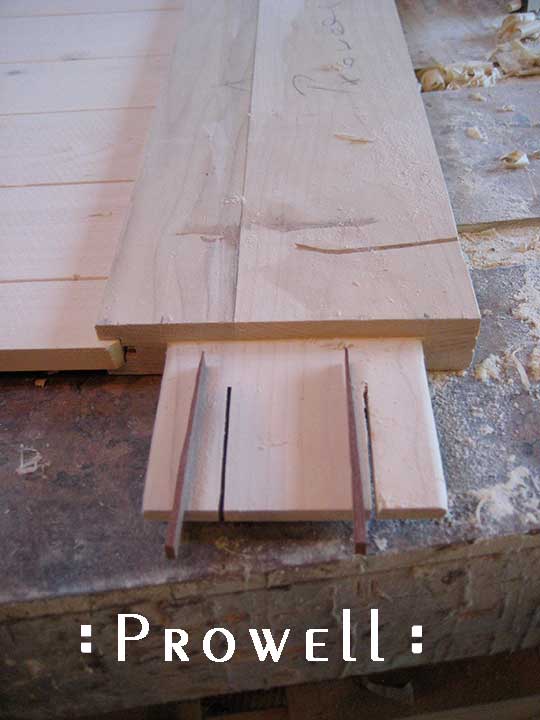
Cutting the kerfs and dry-fitting the tenon for a snug fit into its mortise. The mortise itself is 1/16″ larger than the tenon, allowing for the eventual expansion once the wedges are in place.
JOINERY #6
The wedges are made from Bubinga. A resistant species with a nice color contrasting tone to the cedar tenon.
JOINERY #6
The bottom rail.
JOINERY #6
The top rail.
JOINERY #6
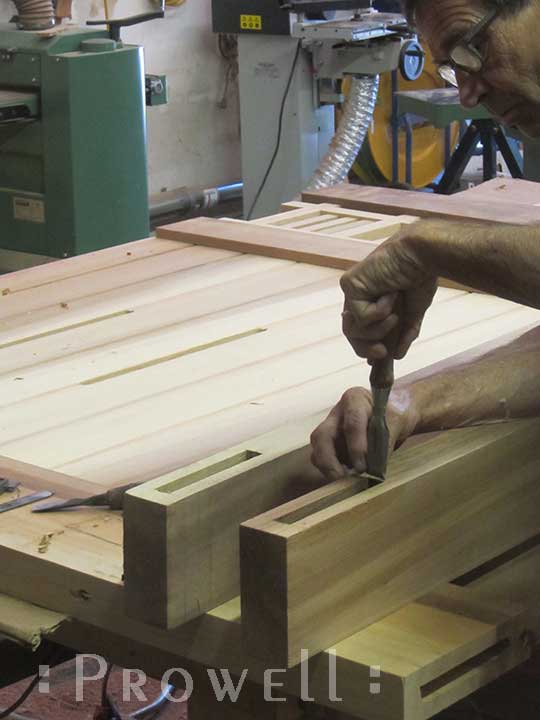
The same joint with square cheeks requires the use of mortising chisels or a dedicated industrial mortises.
JOINERY #6
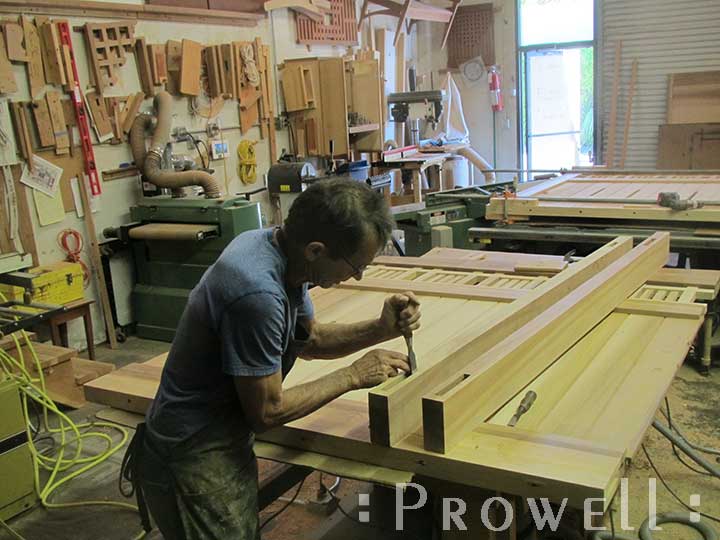
The shoulders are cleaned up with a Veritas 3″ chisel.
JOINERY #6
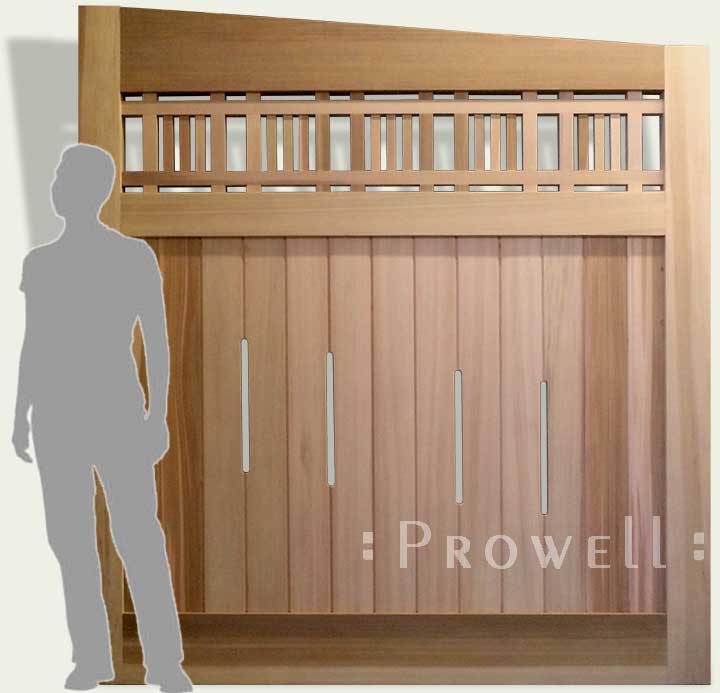
A confusing view showing the tapered top rail of a pair of driveway gates.
The square-cheeked tenons of Joint 6A utilize the same spreading wedges as #6.

JOINERY #6
To view Driveway Gates #29-1, click here.
![]()
Joint #6 employed with Powell Fence Panels
JOINERY #6
A typical mortise for Joint #6 within the stile of a Prowell Fence Panel Style #5.

JOINERY #6
Why Joint #6? Normally, seasonal rains arrive in intervals, with the respite of at least a day’s break between rains. A day when the swelling solid panel shrinks. But what about those torrential fronts when it doesn’t stop raining for 2 weeks? The panel swells and continues to swell until it eventually pushes the vertical stile away from the top rail. The simple joint #6 demands a swelling pressure beyond what even a rain forest can provide.
JOINERY #6
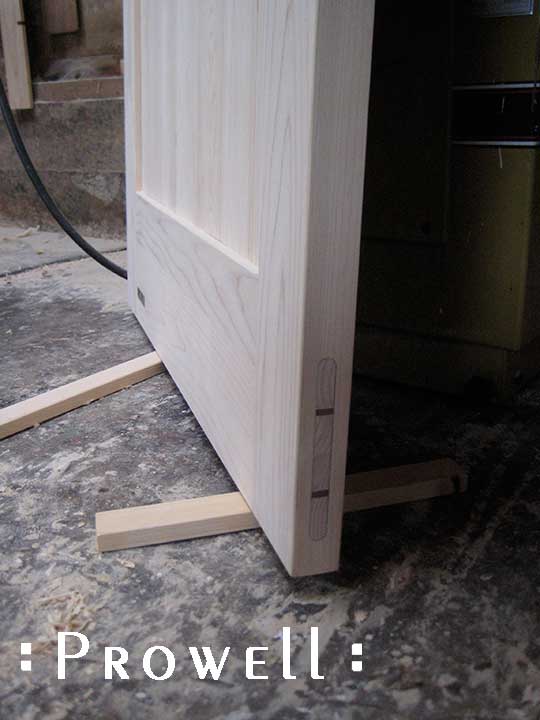
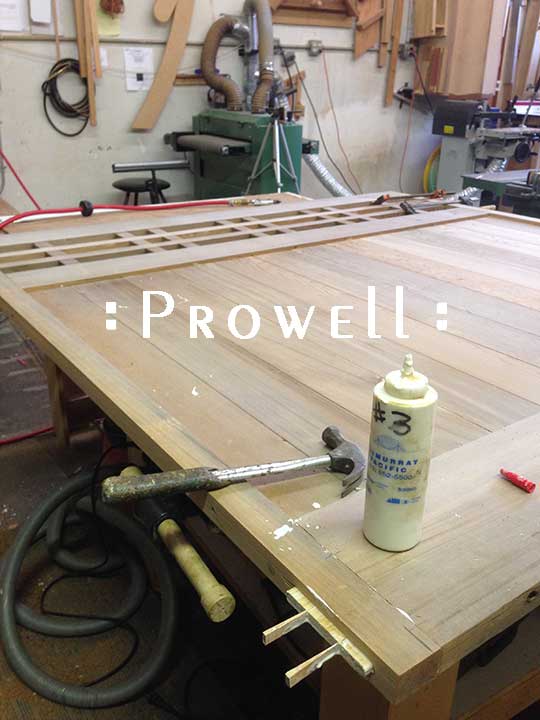
The wedges are driven into place as the last step of the final assembly.
JOINERY #6
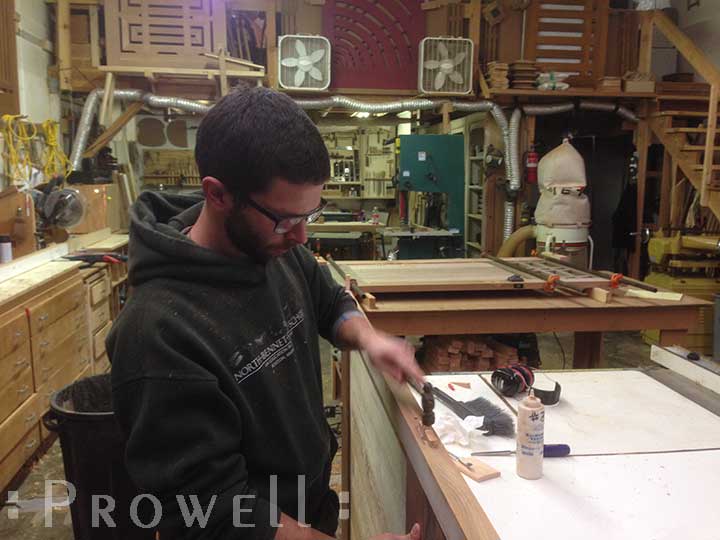
Ben tapping the wedges into place. With each tap, the joint grows tighter.
JOINERY #6
Fence Style #5
