FENCE PANEL 3
Fence Panel 3 is Base Price + 30%
> Go to Base Price Table
To a Maximum 72″ width
CUSTOM WOOD GARDEN FENCE PANEL 3
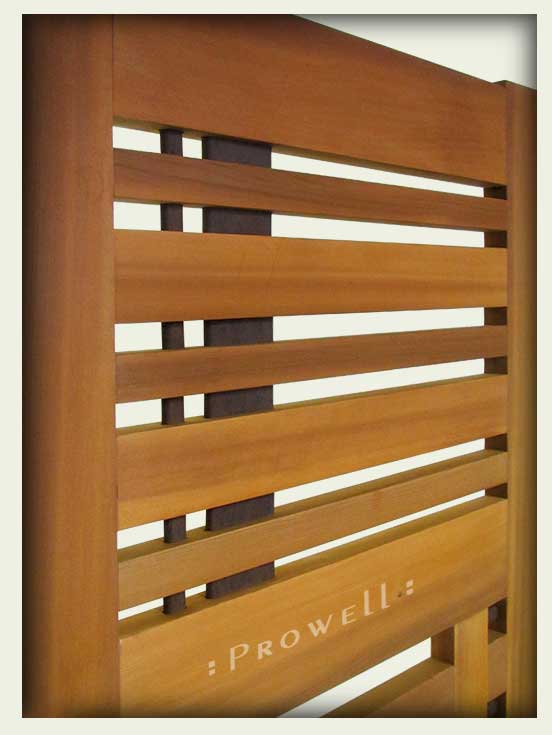
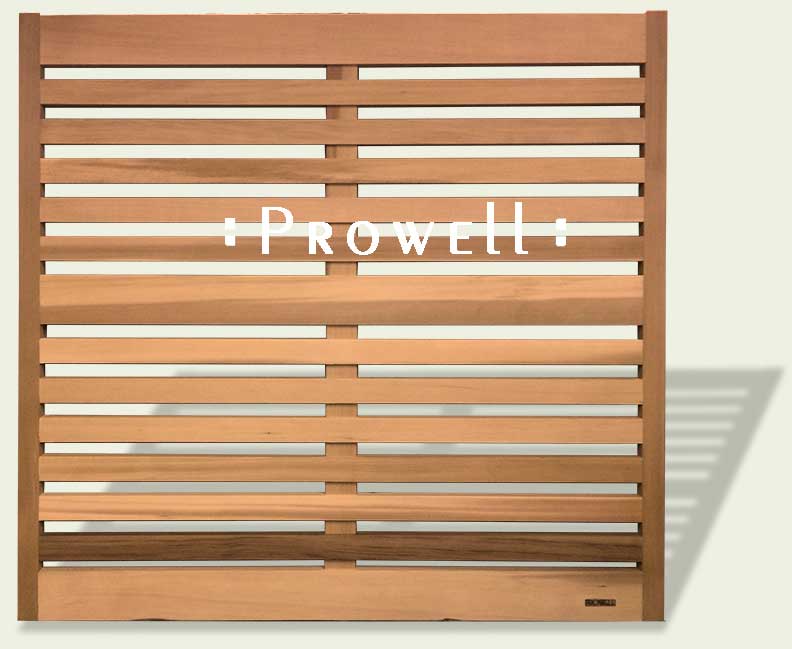
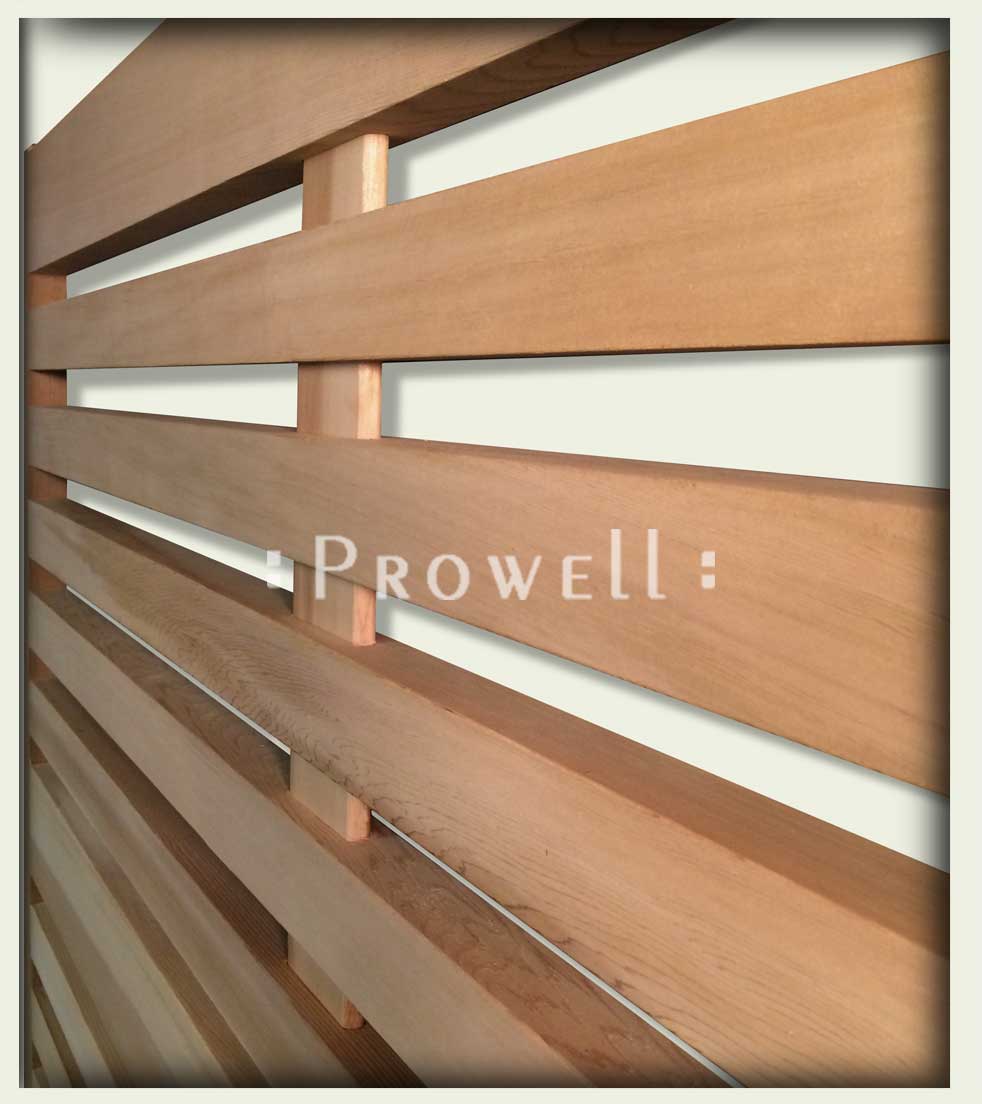
Our horizontal wood fence 3 borrows a defining detail from Gate Style #115. To stabilize the horizontal slats we have introduced a continuous loose vertical tenon running through the slats.
CUSTOM WOOD GARDEN FENCE PANEL 3
How to stabilize longish horizontal fenceboards without hammers and nails and screws insisting the boards cannot do what they must do. They must breath.
Charles and Ben retreated to the darkest nether-reaches of the shop and adopted their Thinking poses and like Pooh, they thunked and thunked . . . but nothing..
Ben went out into the main room and changed the music from The Allman Brothers to Rene Fleming’s Harvest Moon and returned to the darkness.
And they thunked some more.
‘I’ve got it!’ Ben exclaimed.
Charles, jarred from a short nap, said, ‘What? Got what?’
‘We’ve already done it, don’t you see?’
‘No, Charles said, glancing about the darkness. ‘See what?’
‘We’ll just do what we did with the gate style #115. Everyone loves the 115. We’ll do a full through-tenon that fits nice and snug through all the rails and that’s it.’
‘Ok. We’ll do that.’
WOODEN GARDEN FENCE 3
Lincoln, Massachusetts
Horizontal wooden fence 3 shown with Garden Gate style #40-5.
Rocky Mountain latch E414.
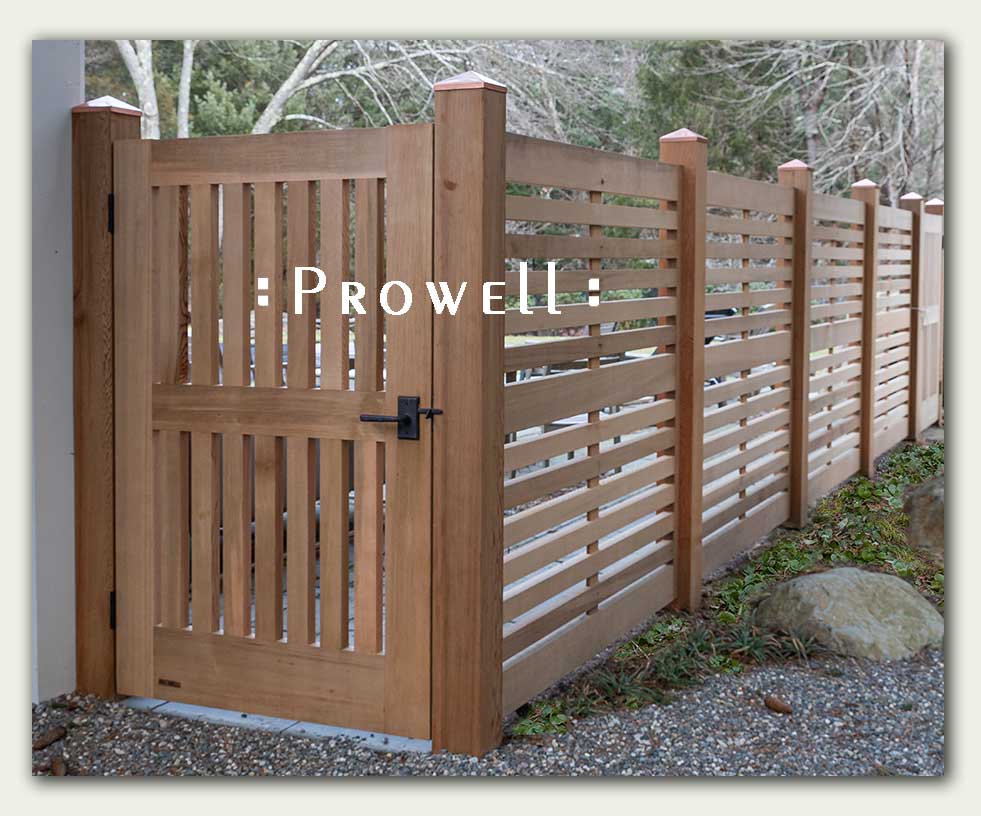 Photo credit: Ben Prowell
WOODEN GARDEN FENCE 3
Lincoln, Massachusetts
Ben makes a trip back to his alma mater in Boston in January 20020 . . . hoping, hoping for snow. A side trip to nearby Lincoln, MA for a few shots of this garden fence project blanketed, possibly, in a winter wonderland? But nothing. Not even the faintest residue of a typical New England January. Climate change? He felt robbed.
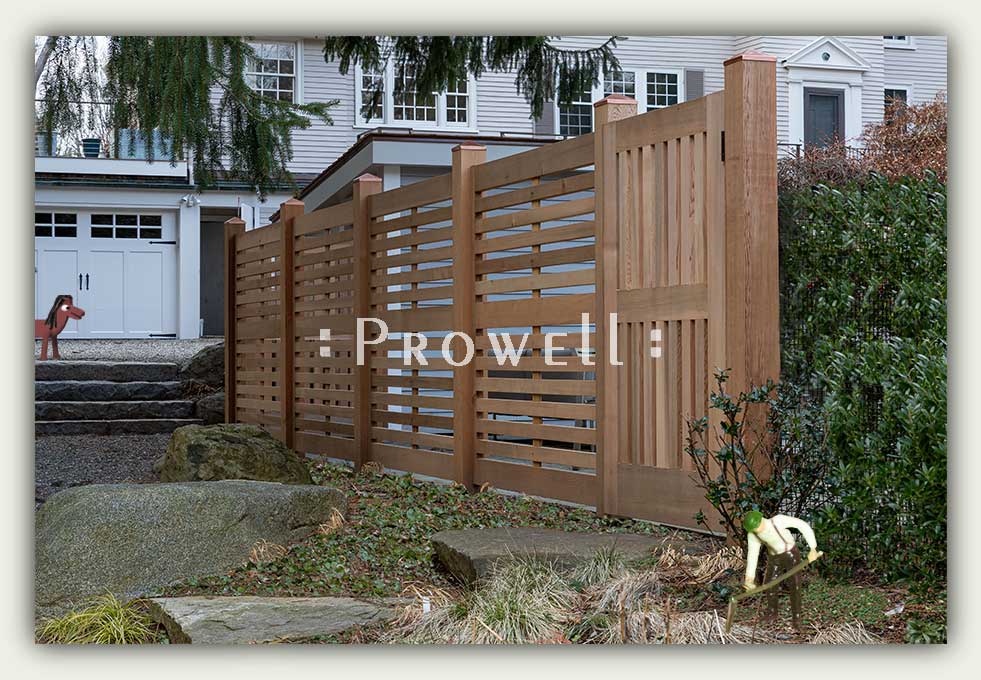 Photo credit: Ben Prowell
GARDEN FENCES 3
Lincoln, Massachusetts
The original request was for simple horizontal pickets. To support the pickets from wobbling back and forth we introduced the thru-tenon–a single continuous tenon mortised thru all the pickets and anchored in the top and bottom rails. A feature first introduced with Gate style #115 and Arbor style #3 in 2018 as a means of strengthening beams over longer spans.
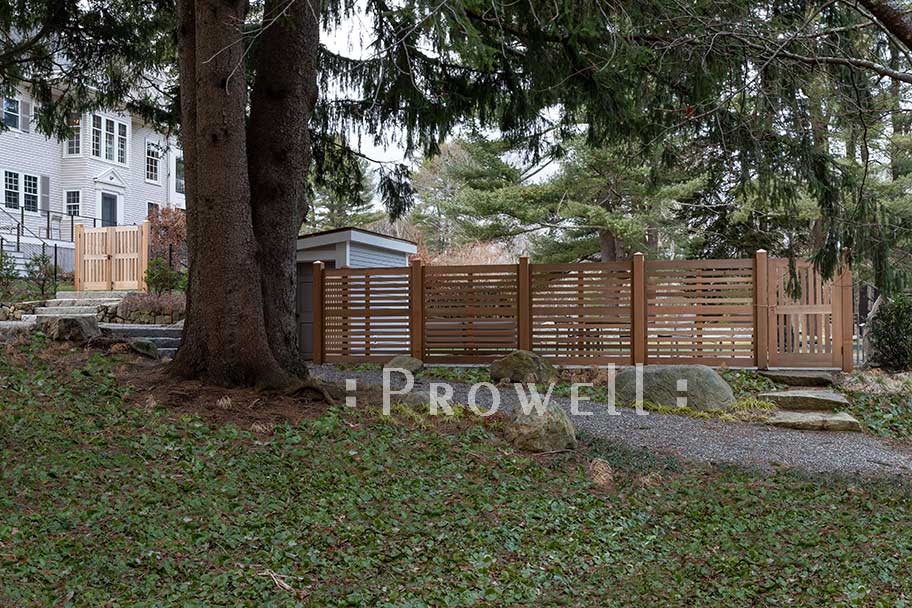 Photo credit: Ben Prowell
![]()
IN-PROGRESS
FENCE PANEL 3–PROGRESS
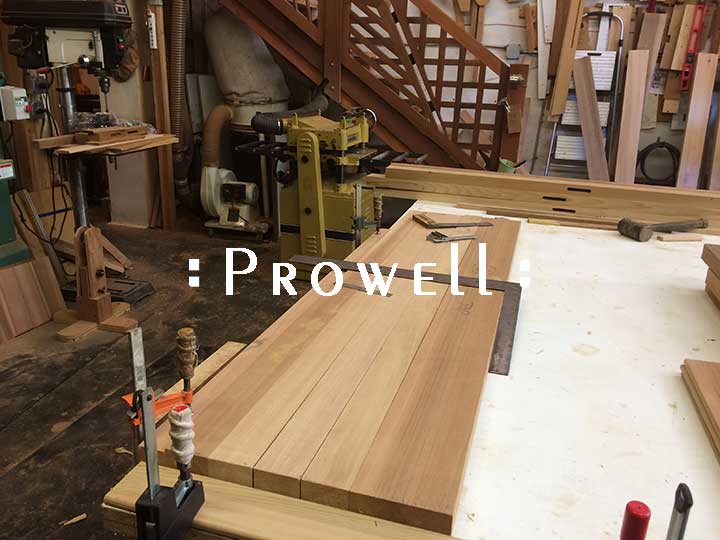
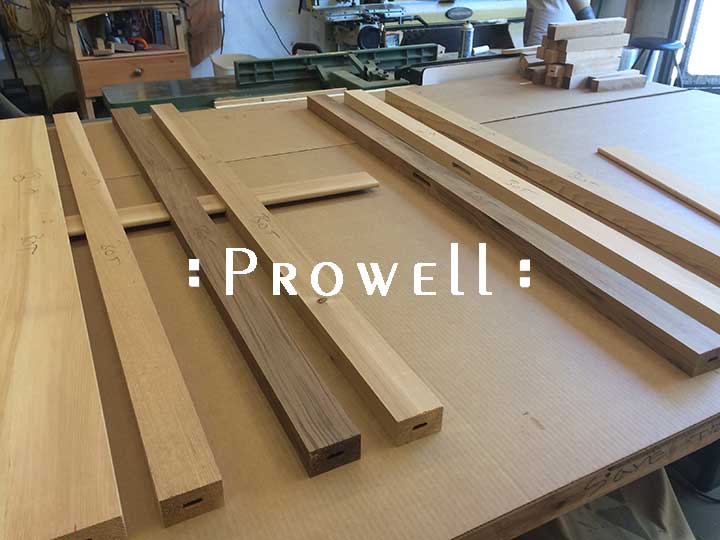
To accomodate the ensuing joinery, it’s essential that the layout is perfectly aligned across every rail.
3–PROGRESS
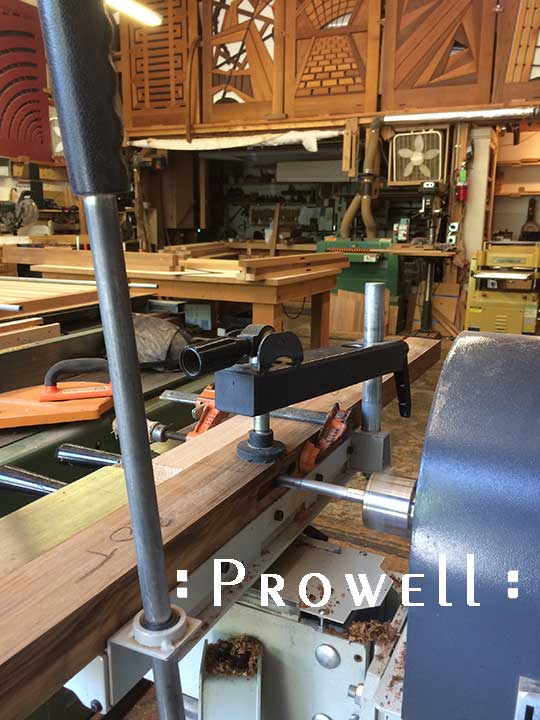
Through mortising, while clamping a block to the back edge to prevent tear-out.
3–PROGRESS
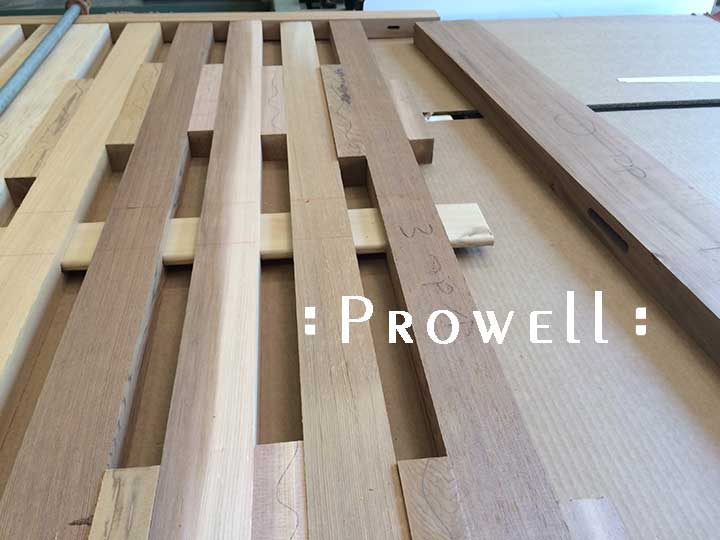
The rails for the fence panel 3 are slipped over the tenon one at a time.
3–PROGRESS
Utilizing spacer blocks to insure we don’t build a crooked fence.
3–PROGRESS
Utilizing spacer blocks to insure we don’t build a crooked fence.

3–PROGRESS
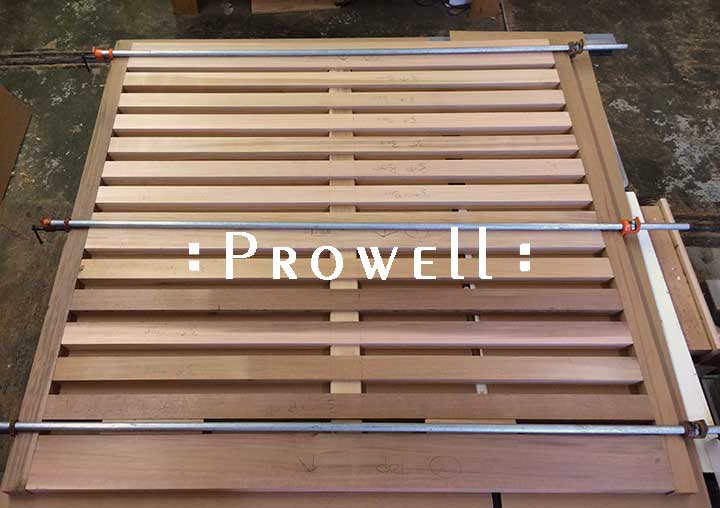
Once the rails are in place, we commence fitting the mortise and tenon joinery of every rail to the vertical stiles and always aware, utterly aware, to not dawdle such that the glue on the earlier joints doesn’t set, and dry, before we arrive at the last joint.
3–PROGRESS
That #115 everyone is talking about.
