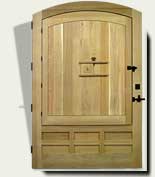
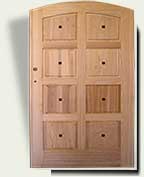
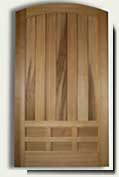
WOOD GARDEN GATES 110
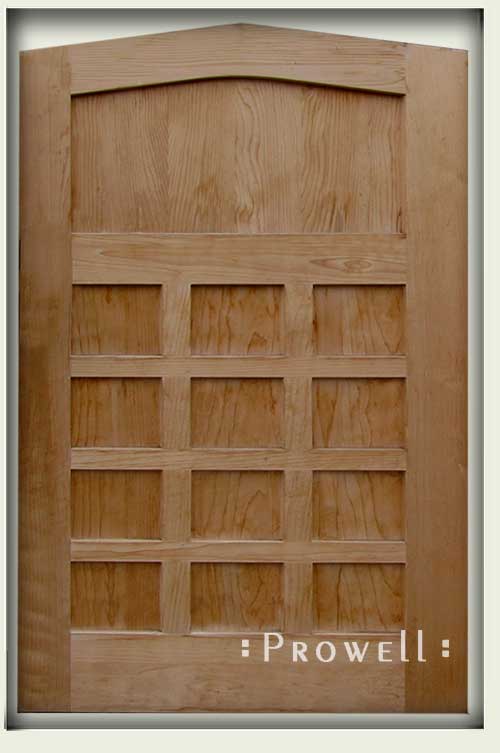
Garden Gate 110 is Base Price + 28%
Go to Base Price Table
 #110
#110
Base Price + 28%
GARDEN GATES 110
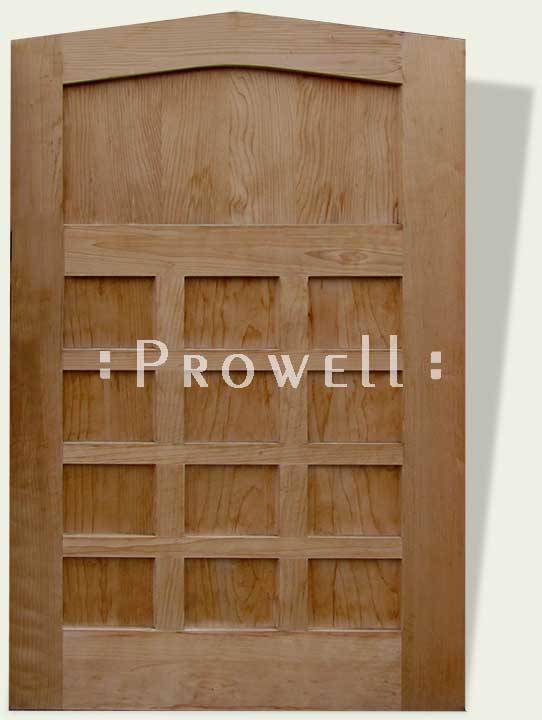
CUSTOM WOOD GATES 110
Berkeley, CA
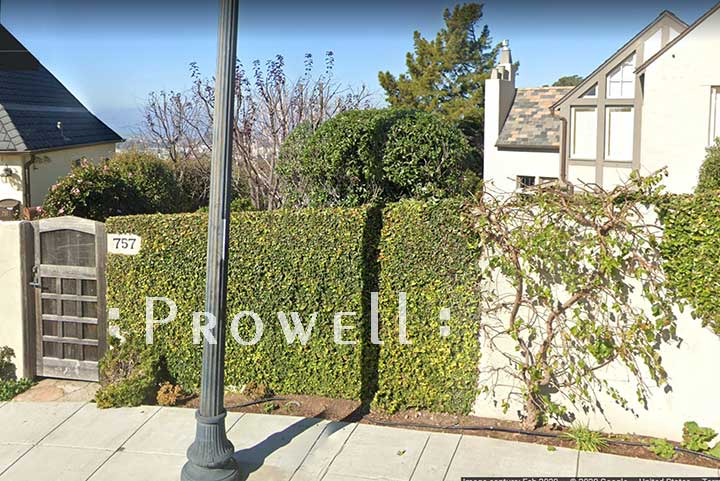
The second garden gate entrance for this residence in Berkeley, CA. When hinging to an existing stucco wall, a pair of Prowell jambs are necessary, which in turn mount to the stucco, at 1-1/2″ thick each, withdrawing a total of 3″ from the stucco-to-stucco dimension.
Here we also see how the left stucco wall is noticeably taller than the right side wall. Upon closer inspection we can see how the left side of the gate is slightly below the top of the jamb and the right side is slightly above, which helps offset the two different wall heights. The question is, why were these walls built to different heights in the first place?
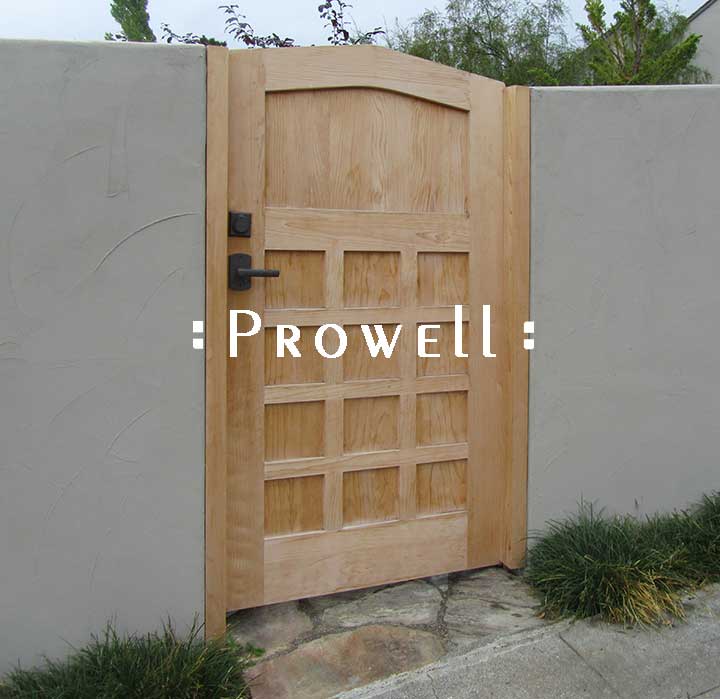
CUSTOM WOODEN GATES 110
Berkeley, CA
Photographed 8 years after installation.
 #110-1
Base Price + 32%
GARDEN GATES 110-1
Oakland, CA
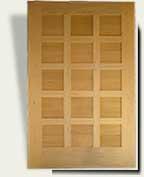
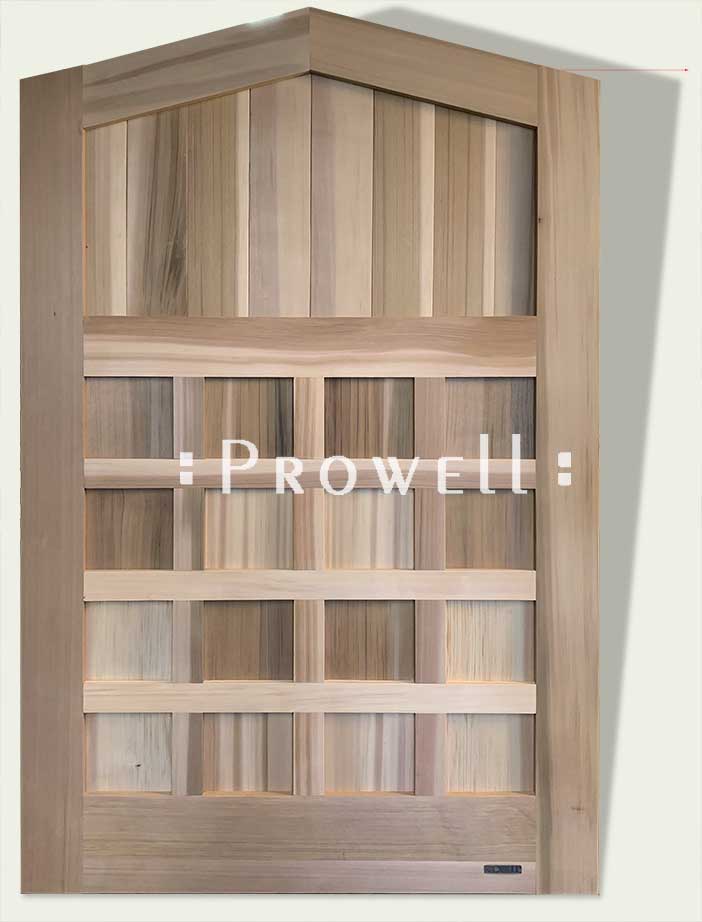
Wood gates 110-1 with four grids across.
ENTRY WOOD GATES 110-1
Oakland, CA
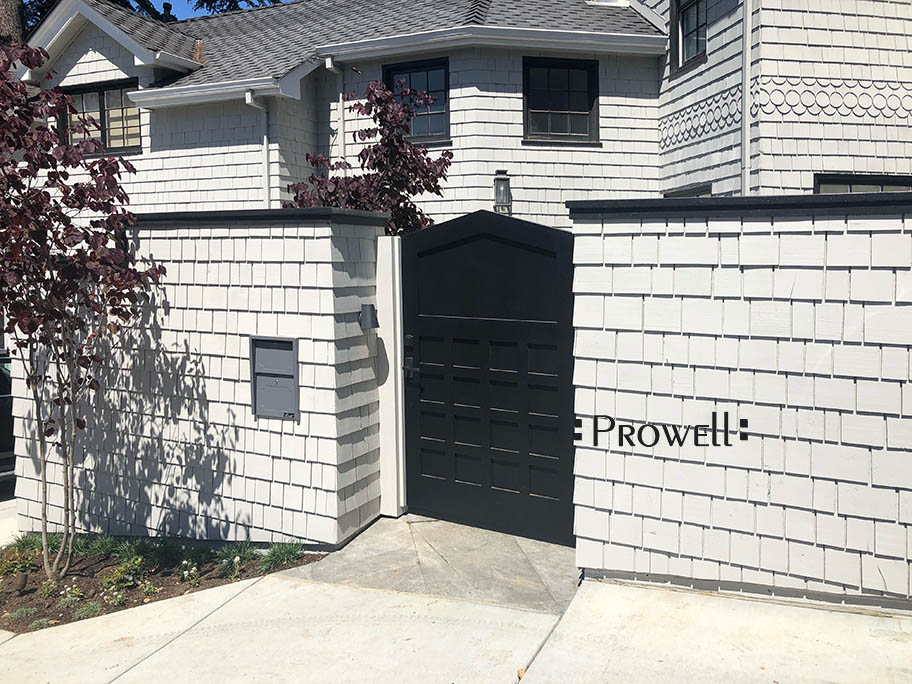
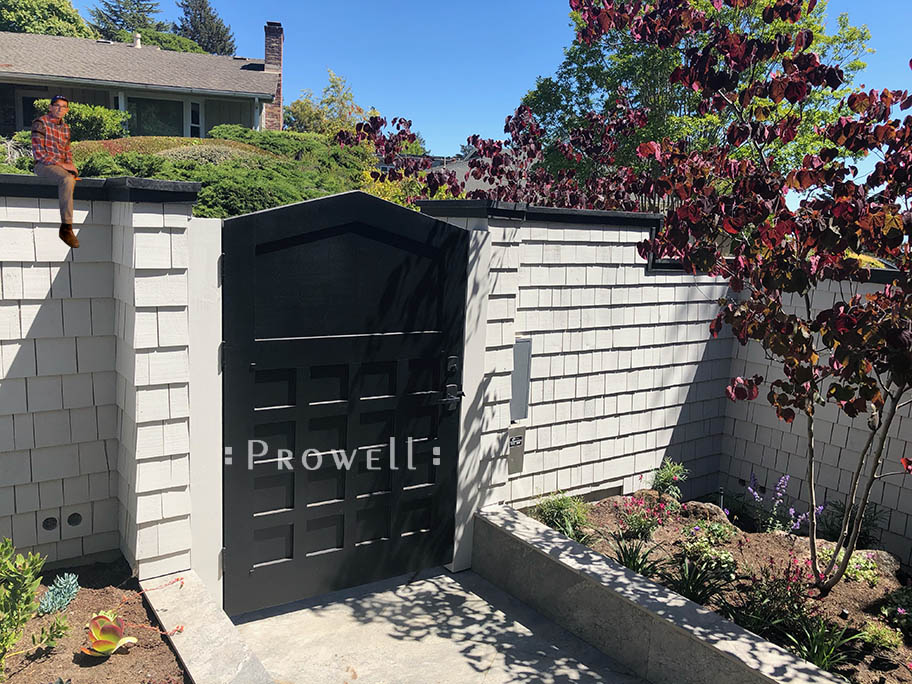
Seen from within the property. Mounted to 6×6 posts set against the shingled wall. In this example the 6×6 jambs were provided by the installer and introduced in lieu of our standard jambs (1-1/2″T x 3-3/4″W) for two reasons: The wall itself may not be fully anchored, but simply wood-framed, thus unable to fully support the front wood gate over time. Secondly, the price-point extended for gates up to 48″, and takes a considerable jump for gates between 48″-60″ width. Introducing the 6×6 posts brings the gate width down to the 48″ pricing tier.
Ashley Norton latch ‘MD’ and dead Bolt 4175
Painted finish—applied on site 3 weeks after gate is installed.
ENTRY WOOD GATE 110-1
Oakland, CA
Wooden Gate Entry 110-1
WOOD GATES 110-1
Oakland, CA
On the left, Charles having fun with Wenge corner mortise pins.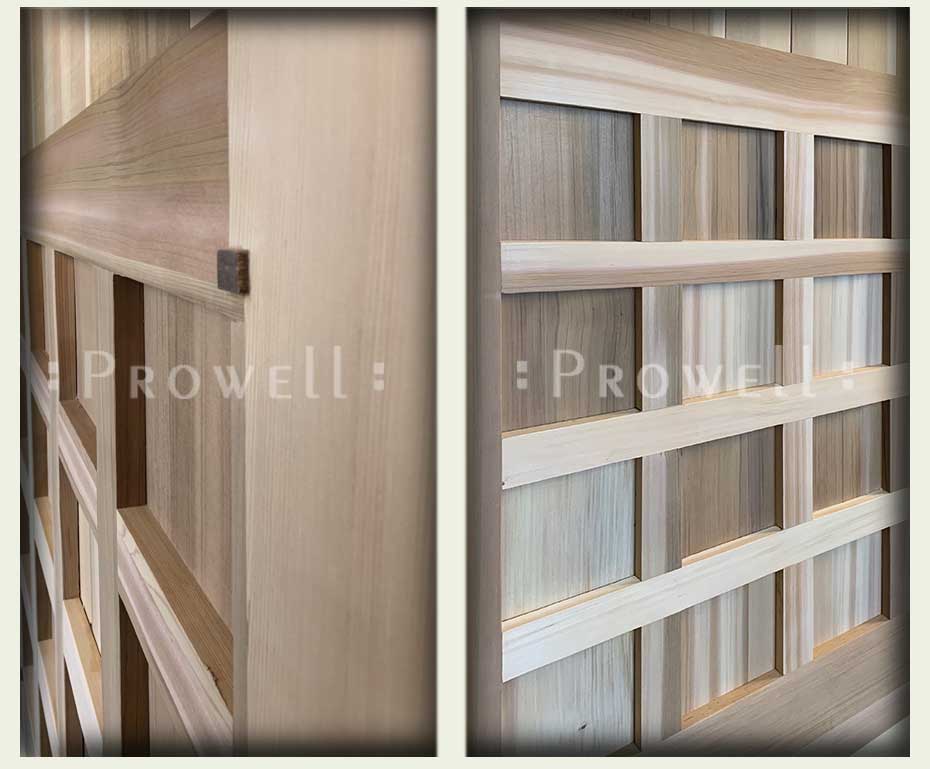
GATE 110-PROGRESS
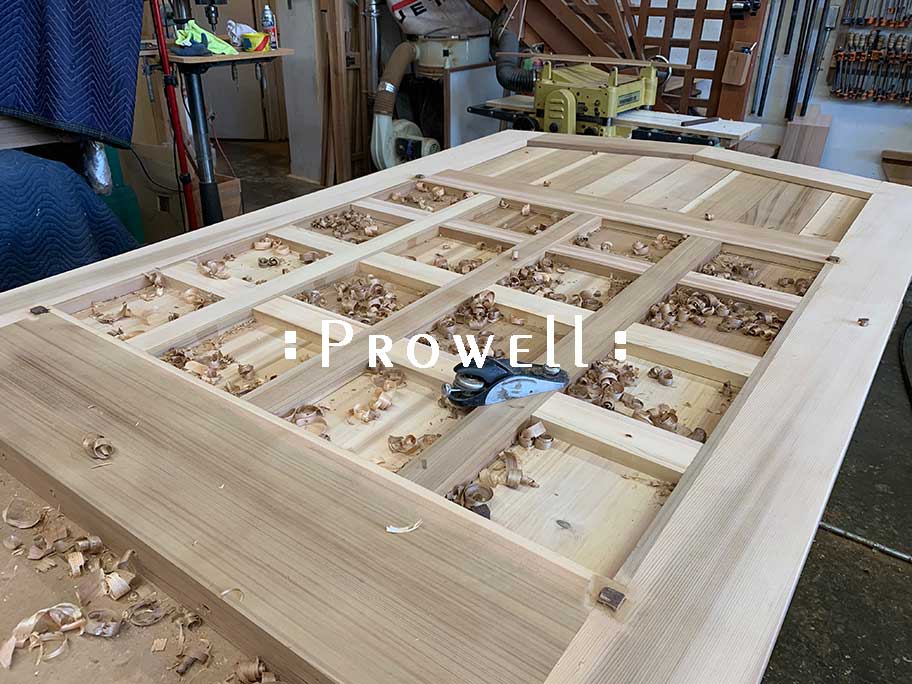
The grid dividers are dadoed for the half lap joints, but also rabbeted for the insert panels. On the property side of the gate, shown here, each insert panel is fitted with small wood stops. For no reason whatsoever other than Charles was in the mood.
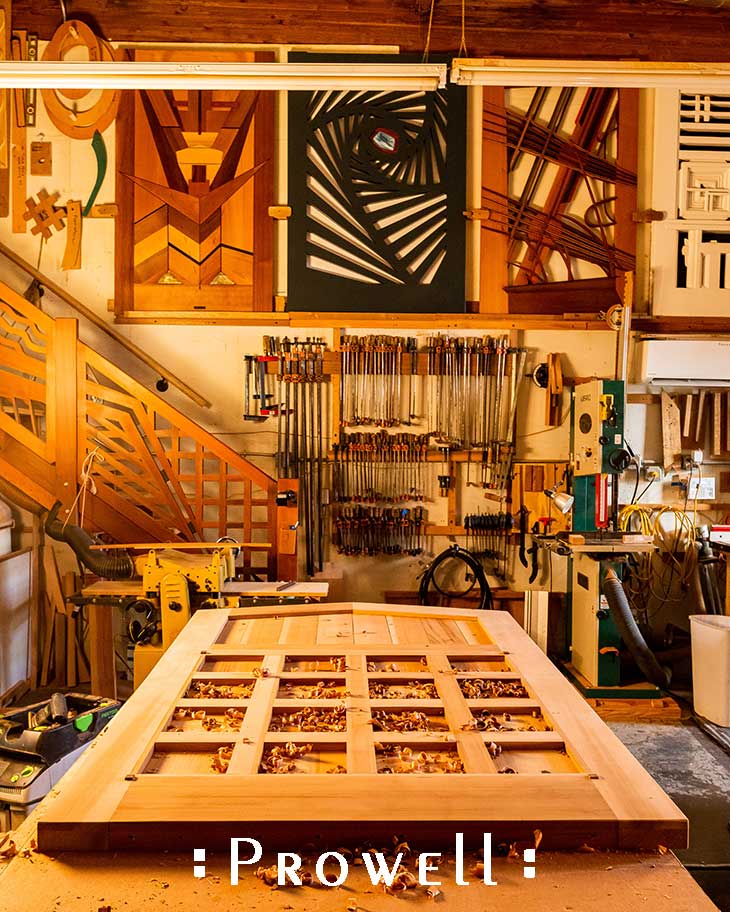 Photo credit: Ben Prowell
GATE 110-PROGRESS
Charles seen with a nearly finished wood gate 110–applying the innumerable wood stops to every grids.
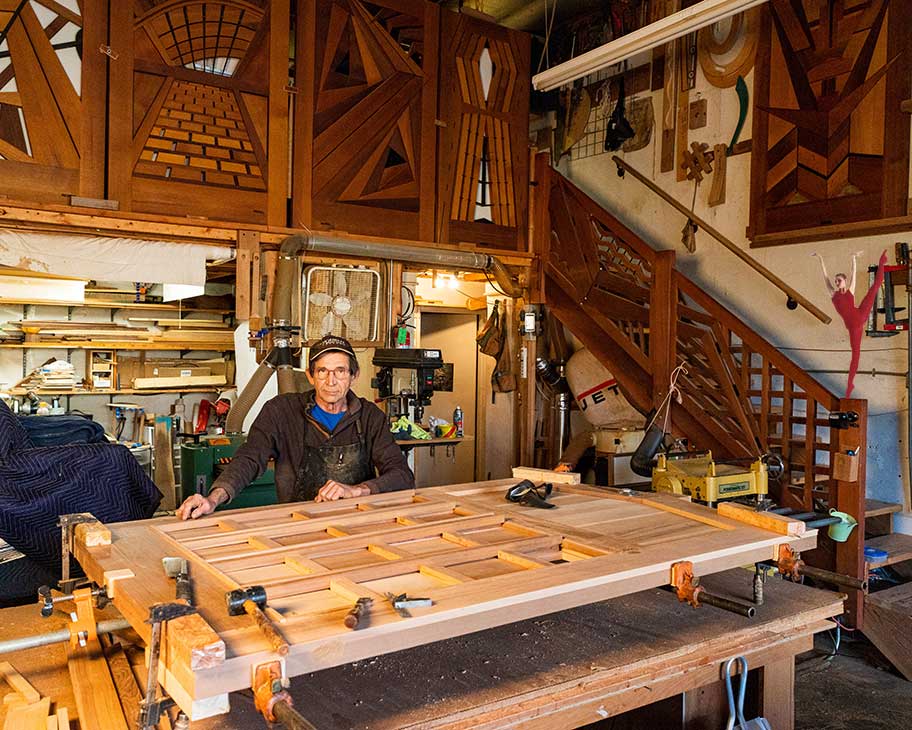 Photo credit: Ben Prowell
GATE 110-PROGRESS
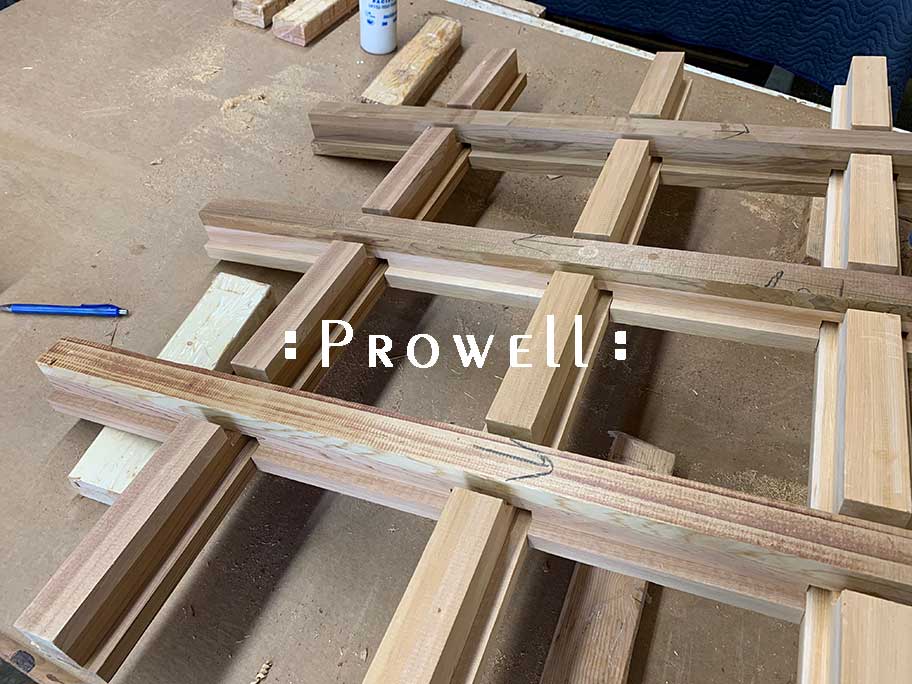
The joinery for the grid patterns of gate 110 is somewhat complicated. Not prohibitive, but creating the half-laps, as well as the rabbets for the inset panels and stops requires a little forethought. There is a black crayon arrow in the forefront; the wood stops run continuous on either side of this divider, with the stops in the other, horizontal direction, cut to fit between the continuous stops.
GATE 110-PROGRESS
Once the stops are glued in place, they are hand-planed flush, and then sanded smooth. The gable gate 110 is one of the more labor intensive designs.
